Stalker Middleware and Flussonic
Stalker Middleware
Stalker — popular free IPTV Middleware from Infomir company. Stalker works with our DVR and auth system.
This article will help you configure Stalker with Flussonic.
Authorization
On Flussonic
On Flussonic side just add one line to flussonic.conf:
on_play http://<stalker_host>/stalker_portal/server/api/chk_flussonic_tmp_link.php;
and then reload the configuration:
service flussonic reload
On Stalker
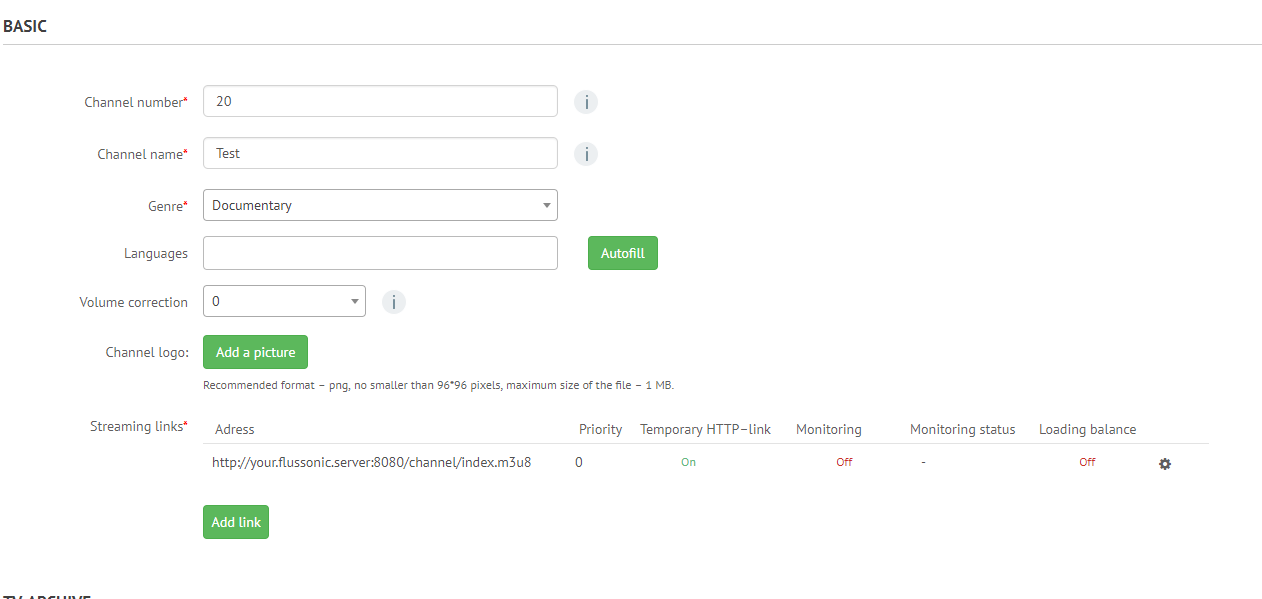
When you create/edit channel in Streaming links you need to set the option Flussonic in Temporary URL.
This setting is finished. Now in Flussonic admin panel you can see what users are using tokens for authentication.
DVR
On Flussonic
Additional configuration is not required. Just make sure you have enabled DVR on necessary channels.
On Stalker
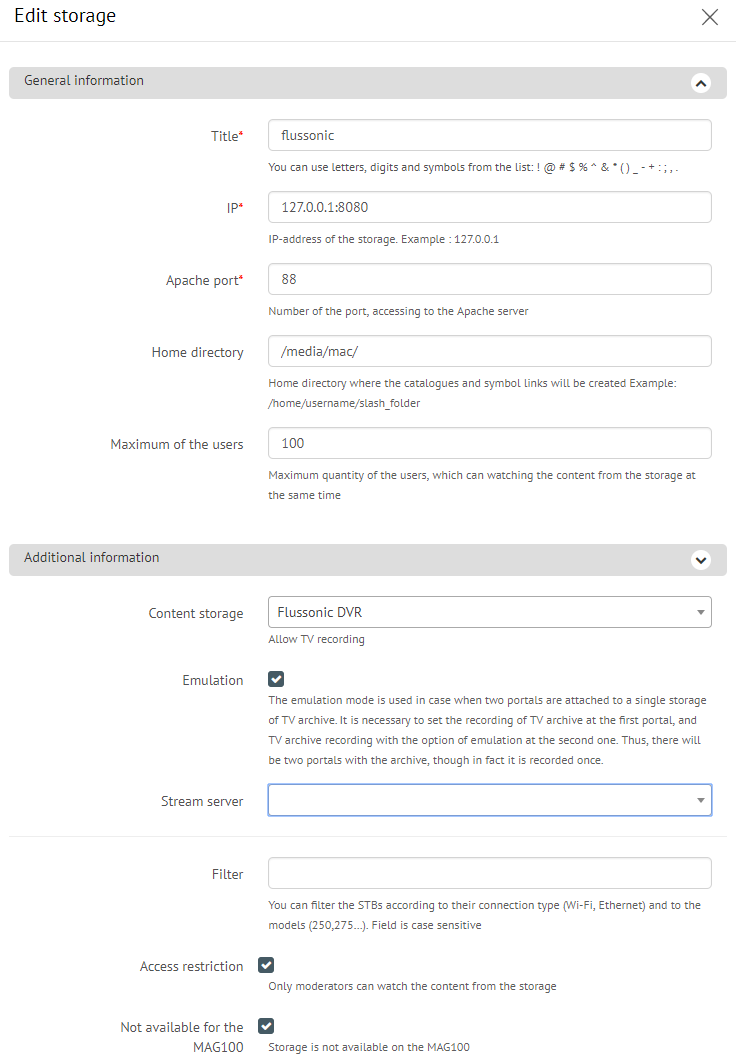
- Add Storage:
In Stalker admin panel go to the menu Storage > Storage list.
Click the Add storage button.
Fill the required fields Title, IP, Port and in the Additional information tab select Flussonic DVR from Content storage.
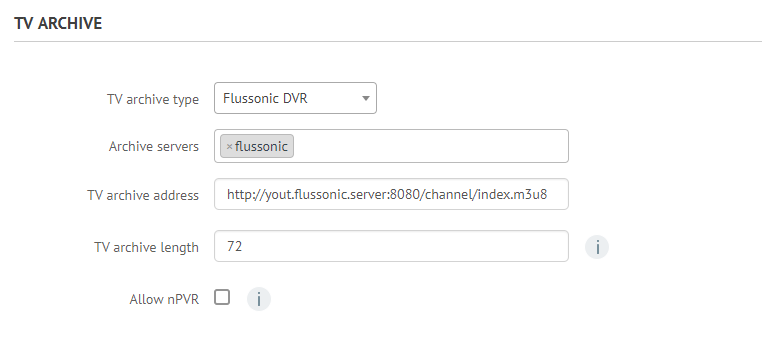
- Enable DVR in Channel:
In Stalker admin panel go to the menu IPTV channels > Channels.
Click edit on the channel where you want to enable DVR.
Open the TV Archive tab, in TV archive type set the option Flussonic DVR. And in Archive servers select the Archive server that you have created earlier. Fill the TV archive address field (e.g, for HLS: http://flussonic:80/streamname/index.m3u8).
- Configure EPG.
Documentation from Infomir
Infomir also has documentation about Flussonic+Stalker. It may be newer or older than ours. If something does not work on these instructions, try using the documentation from Infomir: http://wiki.infomir.eu/doku.php/en:stalker:flussonic.