NVR (registrators)
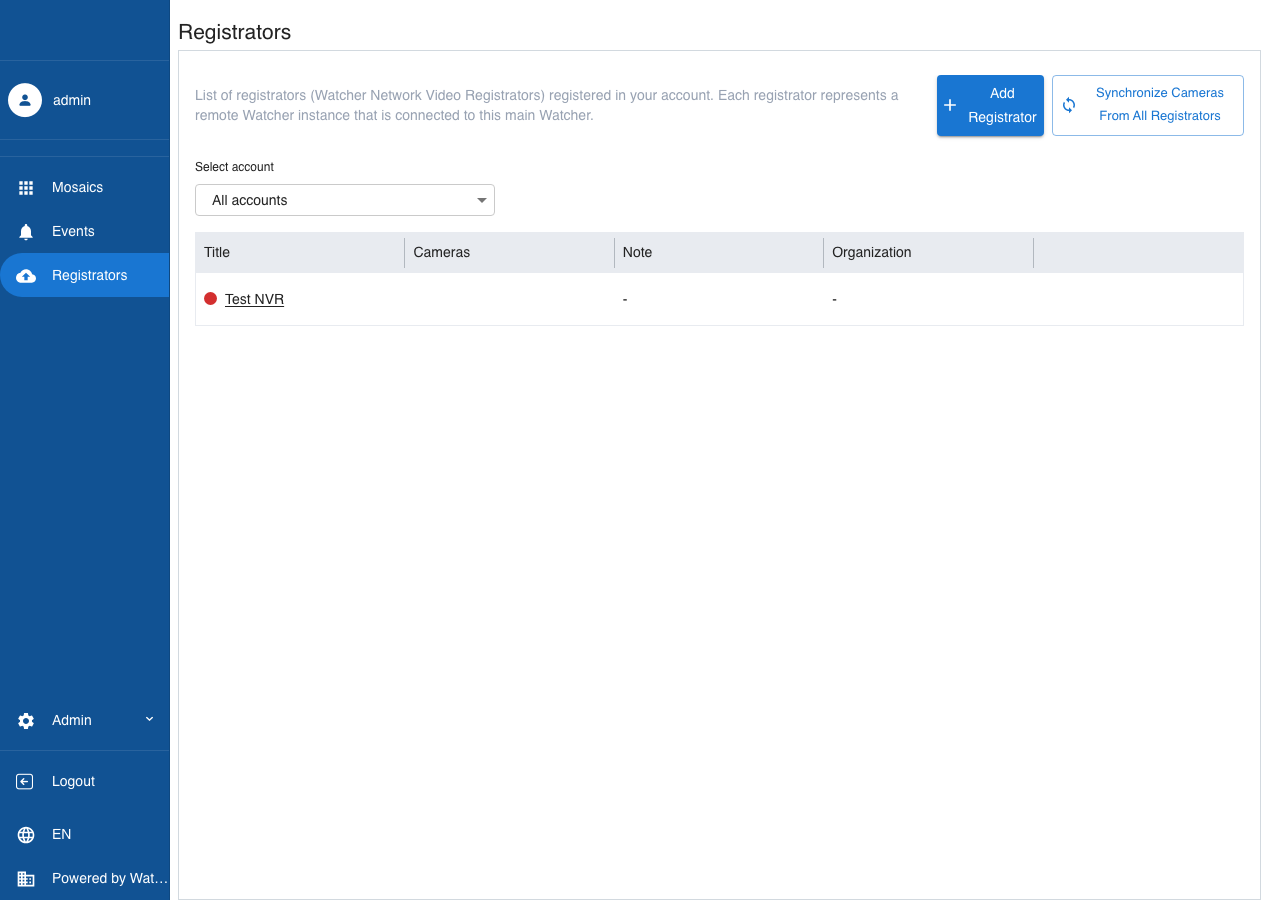
The Registrators page (/wnvr) manages remote Watcher instances (network and virtual NVRs) linked to your cloud Watcher. Use Add registrator to open a dialog with two connection methods.
NVR list
Open Registrators in the main menu. The page lists NVRs for organizations you can access and lets you sync cameras from all registrators.
Adding a registrator
- On the registrators page, click Add registrator.
-
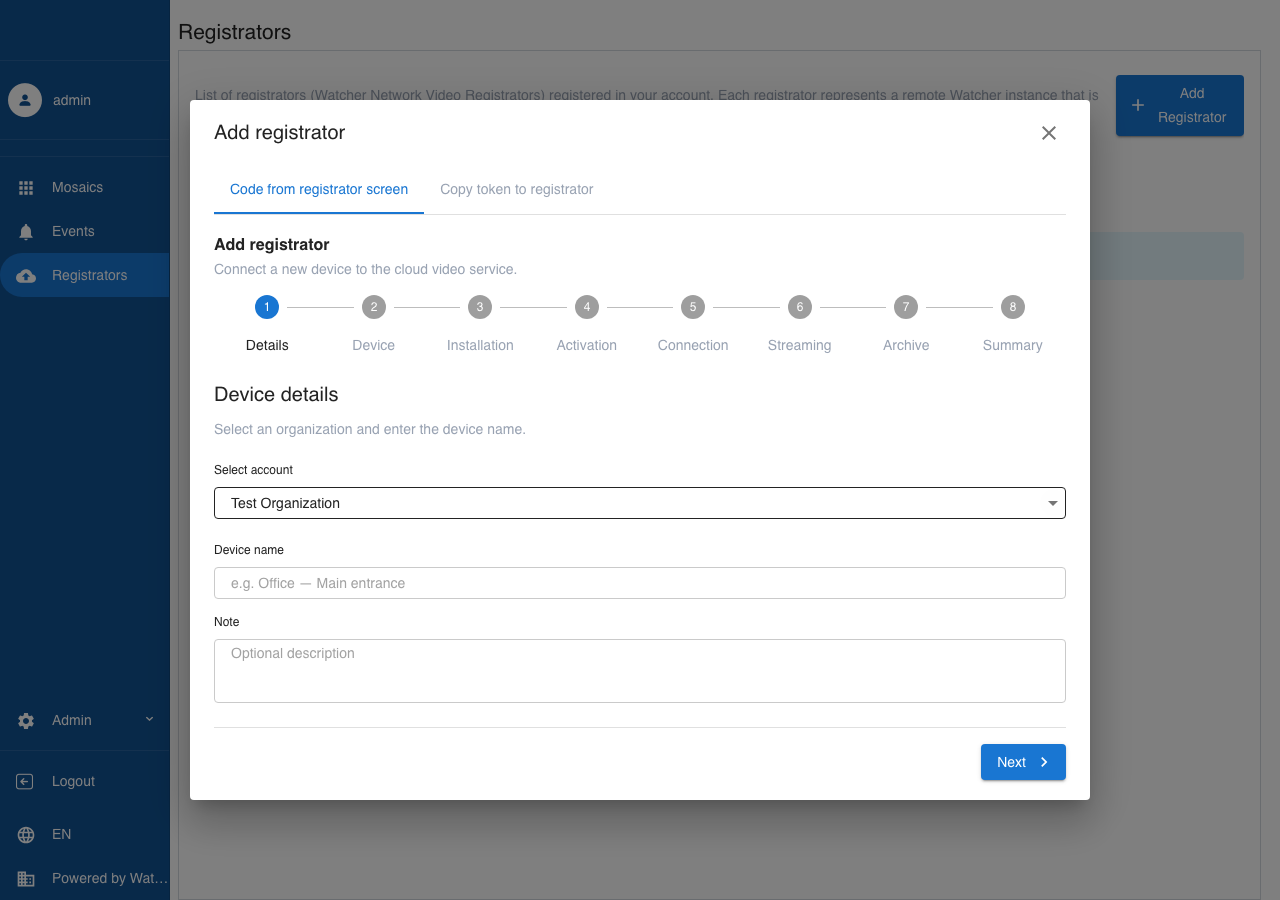
Choose a connection method in the dialog tabs:
- Code from the registrator screen — step-by-step setup for a new device.
- Copy token to the registrator — generate a token to paste into Cloud Registration on an existing remote Watcher.
Code from the registrator screen
Setup takes eight steps. On Details, select the organization, enter the device name, and optionally add a note.
Then:
- Device — choose Watcher network registrator (hardware) or Virtual registrator (software on a Linux server).
-
Installation — for a virtual registrator: connect to the server over SSH and run the install script:
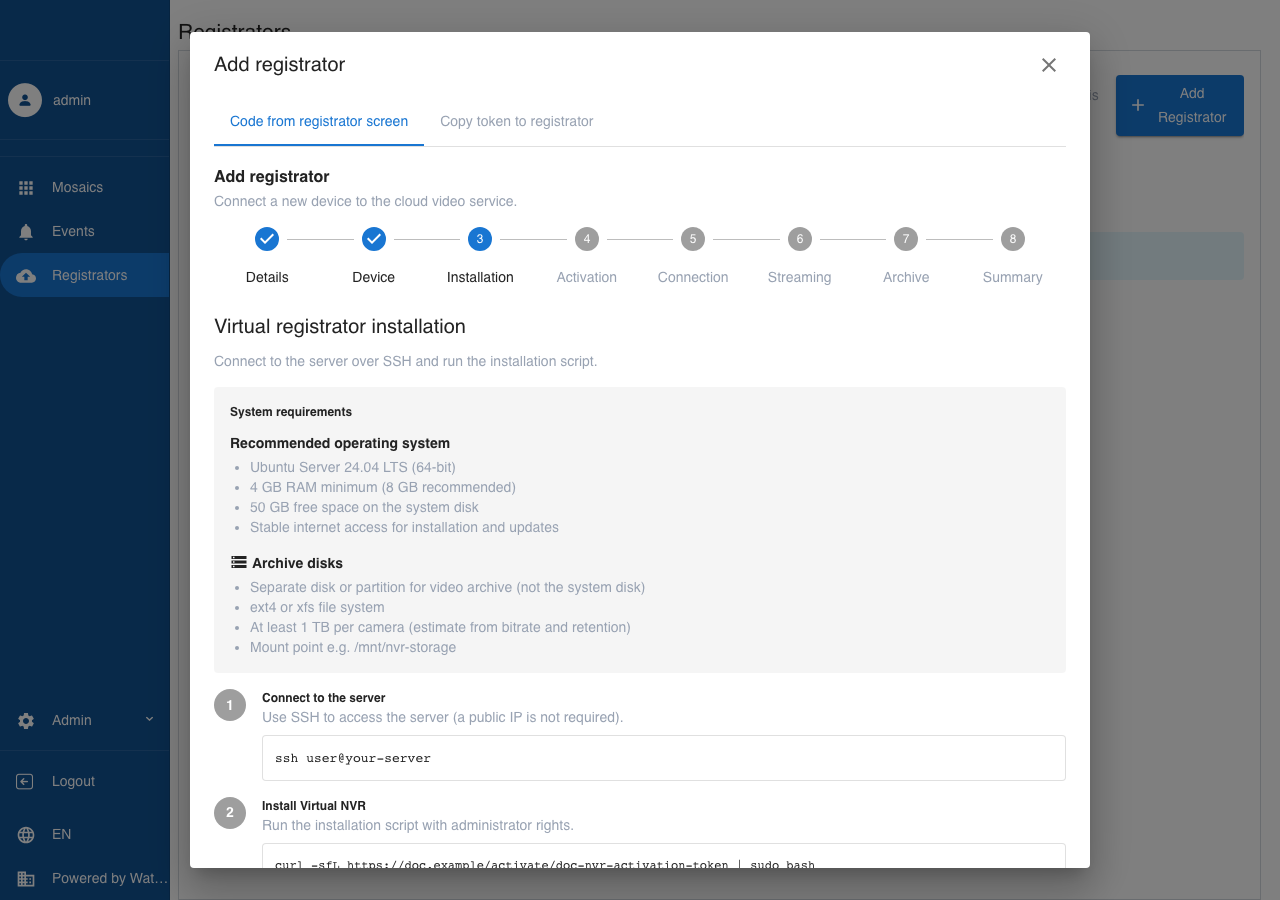
-
Activation — wait for device-side checks to complete (for a network registrator, follow on-screen instructions on the device).
-
Connect — enter the activation code in
XXXX-XXXX-XXXXformat (from the network registrator screen or from the virtual install script output) and click Activate: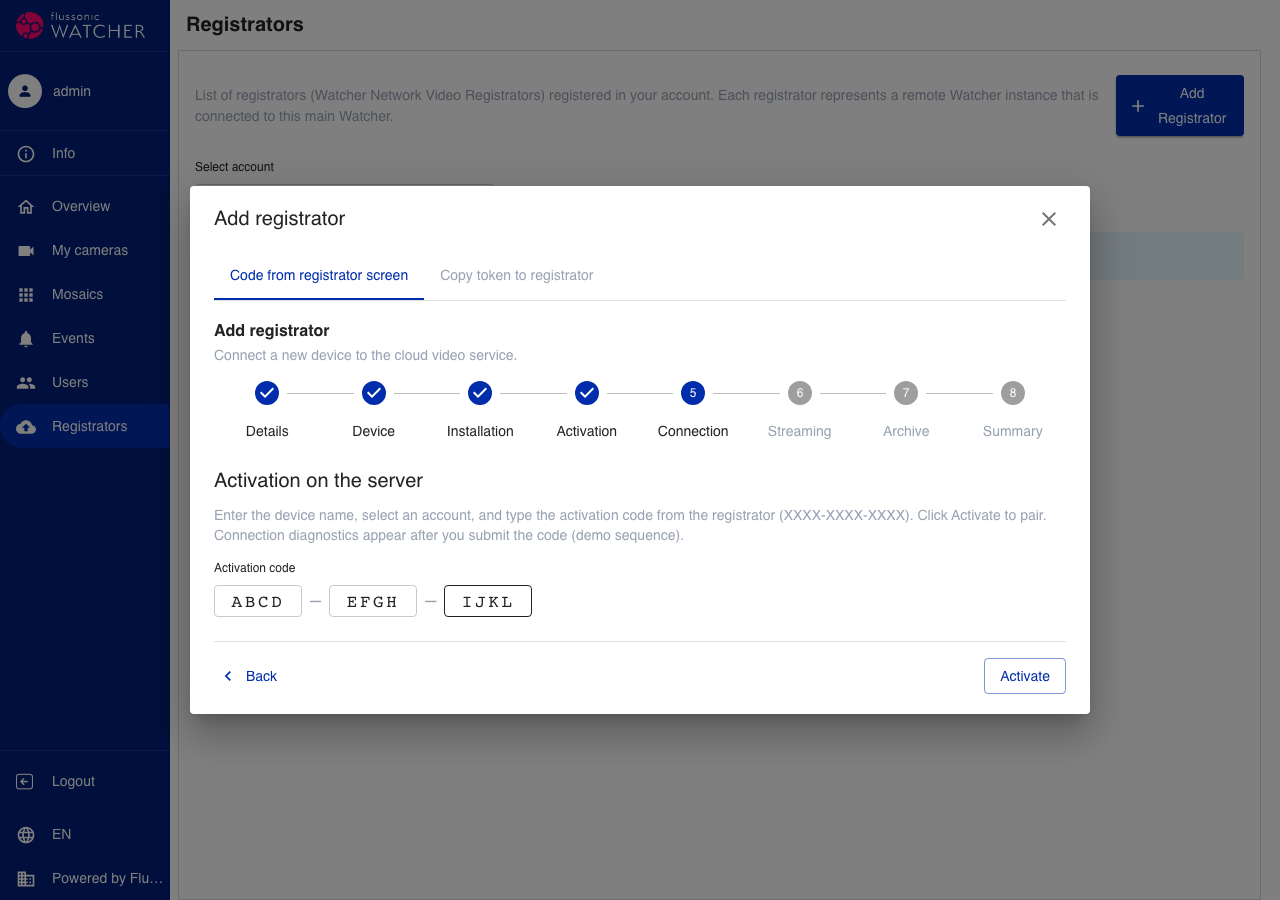
-
Broadcast, Archive, Summary — configure stream import, archive options, and finish setup.
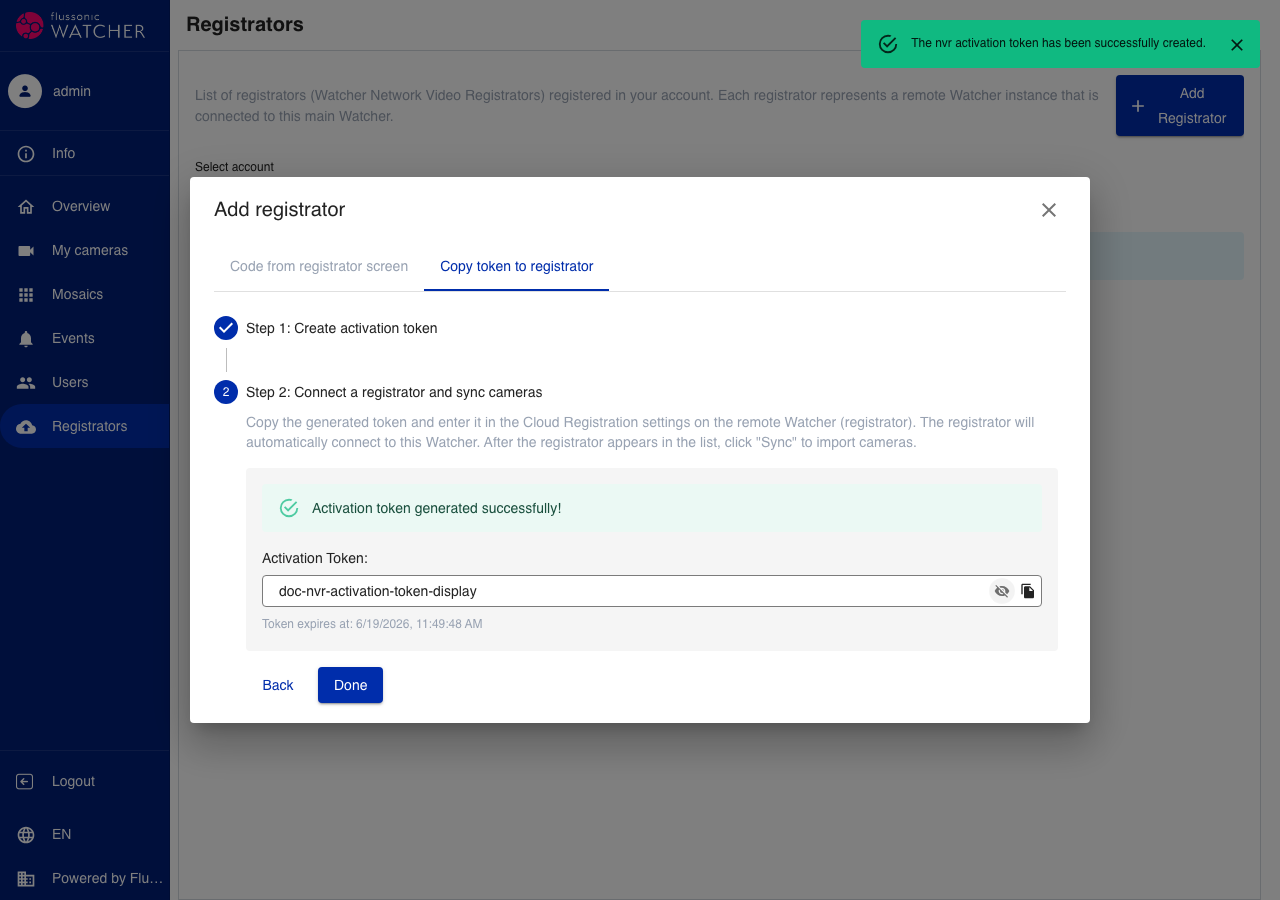
Copy token to the registrator
Switch to the Copy token to the registrator tab.
Step 1. Select the organization, optionally enter a title and note, then click Next. The token is valid for 6 hours.

Step 2. Copy the generated token and enter it in Cloud Registration on the remote Watcher (registrator). When the registrator appears in the list, click Sync to import cameras.
Note
Only the organization owner and users with permission to manage registrators in that organization can add NVRs. Registrators can only be added when a business account is available.