Camera settings
Having added and arranged your cameras, you might want to change some of their settings in Watcher. All the available parameters are described below.
See also Camera Remote Setup via ONVIF.
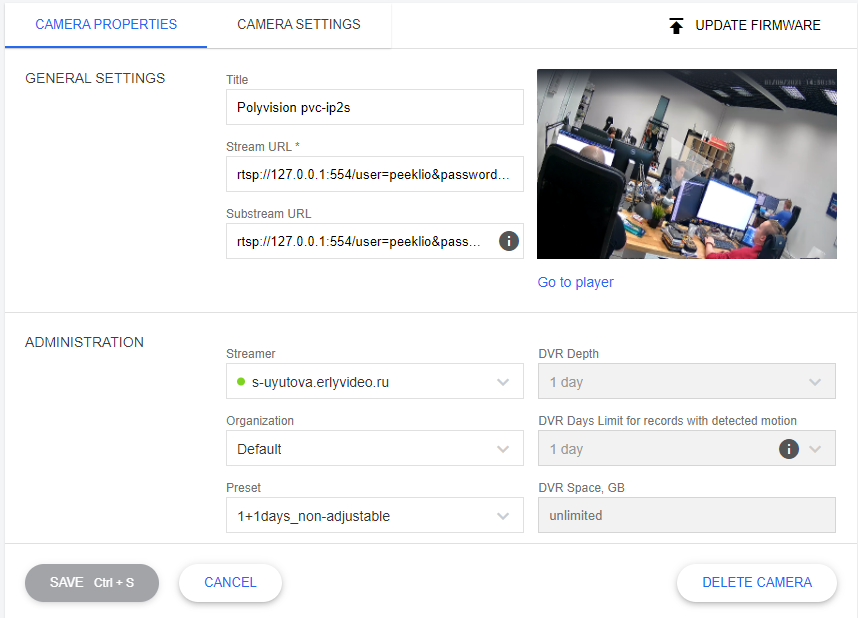
Camera properties > General settings
- Title. The camera name, which you see in the list of cameras. Use only Latin characters and numbers, as the name will be used in URLs.
- Stream URL. The camera URL. For example:
rtsp://mycam.local/stream0. If you know the camera URL, you can import the camera from the Flussonic server or use auto-search to add the camera. - Substream URL. Additional address(es). For example:
rtsp://mycam.local/stream1; rtsp://mycam.local/stream2. The substream parameters are usually different from the main stream, for example, they may have different resolutions or fps. This allows a multi-bitrate stream from the streamer to a client application, i.e. dynamic adaptation of the video stream to the network bandwidth. - Screenshot of the camera stream (periodically updated). One click starts live video right in the preview box, double click opens the full-screen live player. You can also click Go to player to open the DVR player. This is useful if you want to see how new settings applied.
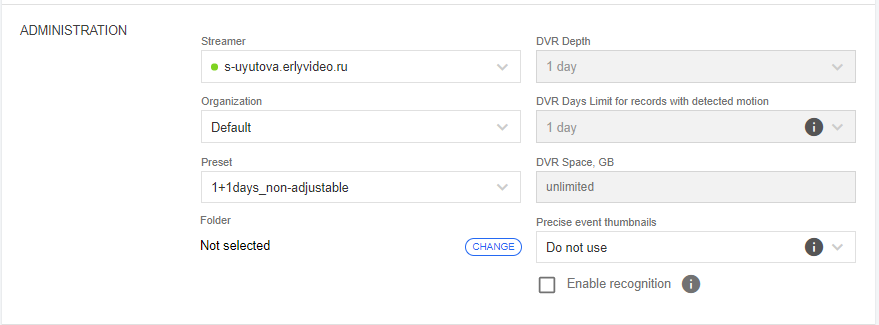
Camera properties > Administration
-
Streamer. Watcher Streamer used as a streamer for this camera.
Note
If the camera was connected to one streamer for some time and then you change the streamer, the archive already recorded by the camera remains on the old streamer. The new archive is recorded to the new streamer. However, the user (subscriber) will be able to access both new and old DVR seamlessly without having to think about where the archive is actually stored. This feature is called "seamless archive" or "seamless DVR".
The streamers can also switch automatically in the Failover mode.
-
Organization. The Organization to which the camera will be added. A camera can belong to only one Organization. If you do not select Organization, the default Organization is used.
-
Folder. A hierarchical node of the camera tree within the Organization. Tha camera will be added to this node called folder. If you do not select a folder, the root folder in the selected Organization is used.
-
Preset. Select a previously created preset with DVR settings that will be applied to this camera.
-
DVR depth, DVR days limit for records with detected motion, DVR space, Precise event thumbnails are the archive parameters. They are unavailable and/or overwritten when you select a non-adjustable preset. Learn more at Archive settings.
-
Enable recognition. Turning on or off license plate detection and recognition (LPR) OR face recognition. This setting is unavailable and/or overwritten when you select a non-adjustable preset. When the box is checked, you can select the recognition type in the drop-down list under it as well as click the button to set the detection zone.
Camera properties > Additional settings

-
Enabled. Turning the camera on and off. It means whether video from this camera will be transmitted or not to Watcher.
-
Capture only video. When the box is checked, audio stream from camera is not captured on streamers nor recorded to DVR or played at live video. When unchecked, i.e. by default, the streamer captures both video and audio streams (if available).
-
Note. The text that describes camera positioning or gives any other information.
-
Transcode audio to AAC. Transcode audio to AAC for viewing via web/mobile.
-
On-demand. Turn this check box on to make the camera transmit video only on request, turn off to make the camera work constantly. This mode of camera operation allows to reduce the load on streamers, but it has a number of significant limitations. Please note that when this box is checked, the video does not come from the camera to the streamer until some action is taken that is considered a video request: this can be viewing the video in Watcher app or web UI, using a direct link to watch video from the camera or just opening the Cameras page. If you have turned on the On-demand mode and configured motion events, analytics (face recognition or LPR) and/or DVR, these functions will only work when the video is received by the streamer. In other words, if no one requests a stream from the camera, then no functions associated with it work. Hence, it is recommended to check this box with caution, only in cases that do not require any functions other than viewing live video from the camera (e.g. for intercom, security desk camera, etc.).
The timeout for disconnecting the camera after disconnecting the last client is 60 seconds.
Camera properties > Location
- Coordinates. The coordinates of the camera location. Define the camera placement on the map. You can change its placement. We recommend that you place all cameras to their actual locations on the map to help users find them.
- Address. The postal address of the camera.
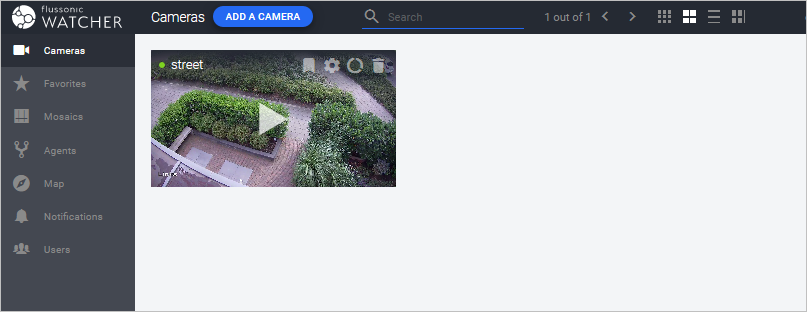
Saving camera settings
After you have edited the camera settings, click Save. The camera will appear on the management page in the list of cameras: