Watcher Quick Start Guide
This quick start guide will teach you how to do the most common tasks in Flussonic Watcher. After looking through this guide you will be able to:
- Install Flussonic Watcher on one server (in Single mode).
- Add a virtual camera.
- View the archive records.
- Connect a mobile app.
You will need the following assets to follow the instructions below:
- A computer with Linux operating system and access to the Internet. See here for detailed system requirements.
- A license key. Contact our manager to purchase a license.
Installing Flussonic Watcher
Install Flussonic Watcher as follows:
1) On the server where you plan to run Watcher execute the commands:
wget -q -O /etc/apt/trusted.gpg.d/flussonic.gpg http://apt.flussonic.com/binary/gpg.key;
echo "deb http://apt.flussonic.com binary/" > /etc/apt/sources.list.d/flussonic.list;
apt update;
apt install flussonic-watcher;
2) The installation wizard will prompt you to enter the necessary data: administrator's login and password, license key, and the path to the DVR where the archive will be stored.
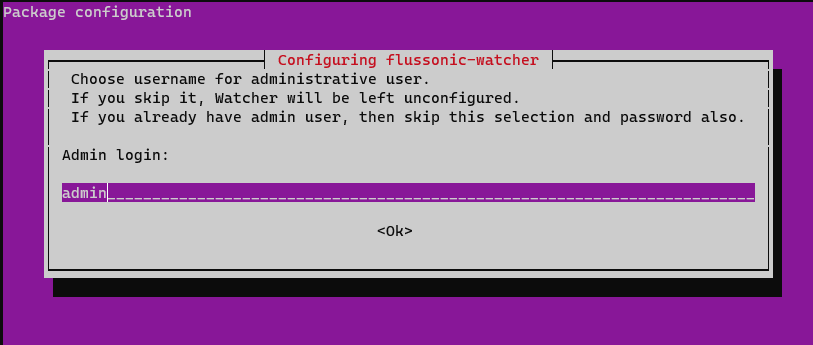
Enter the requested information and wait for the installation to complete.
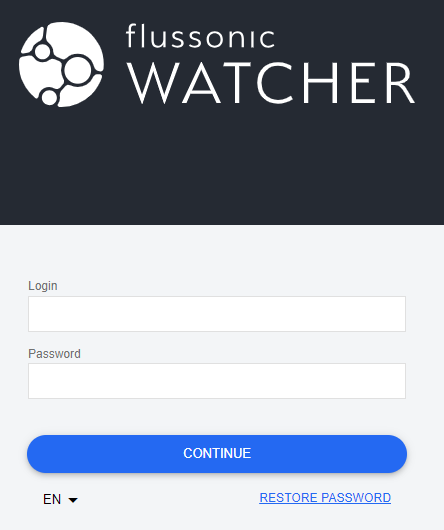
3) Open Watcher web UI at http://(Watcher server address). Use login and password you set at the installation.
The installation for single-server mode is now complete. Please refer to Installing Watcher Cluster or Single for full installation procedure.
Adding a virtual camera
A virtual camera is a software stream that you can add as a camera to Watcher using fake://fake URL. Such a camera can be used for test purposes to check the settings, video and sound without a real camera.
To add a virtual camera:
- Go to Cameras and click Add camera.
- In the form that opens, enter the camera name and URL
fake://fake. - Select some value in the DVR Depth drop-down list to enable the archive recording.
-
Click Save.
After saving the settings, a screenshot of the camera will be displayed on the right. If the screenshot does not appear, refresh the page.
Here you can also view live video or open it in full page using the Go to player button.

Adding a virtual camera is completed. Please refer to Adding cameras for other ways of adding cameras.
Viewing the archive
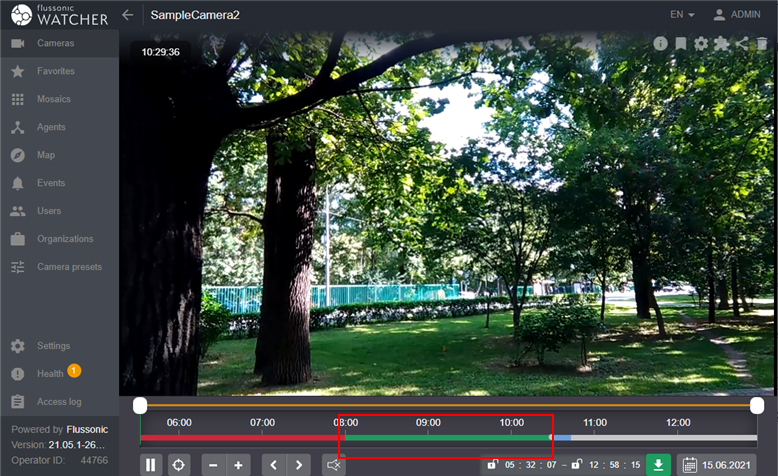
To view the archive, go to the Cameras page and click on the tile of the desired camera. The player will open in live view mode.
You will see green areas on the timeline if the camera has an archive. Click the desired point in the green area to start archive playback from the selected moment.
Learn more about the player and playback controls here.
Connecting a mobile app
There are two types of mobile applications for Watcher:
- Traditional mobile applications that are installed from Apple Store or Google Play. These mobile apps are useful for adding cameras.
- Progressive Web Application (PWA) that is installed by Add to Home Screen option in the browser menu. This app provides all the functions that are available in the web UI.
You will need the Operator ID to log into the traditional app. Operator ID is a unique identifier of your Watcher. To get it:
- In the web browser, go to your Watcher's public (external) URL or IP address accessible from the Internet. Do not use the server's local IP address because the Operator ID will not be issued and the Watcher mobile app will not connect in such case.
- Log in to Watcher as an administrator
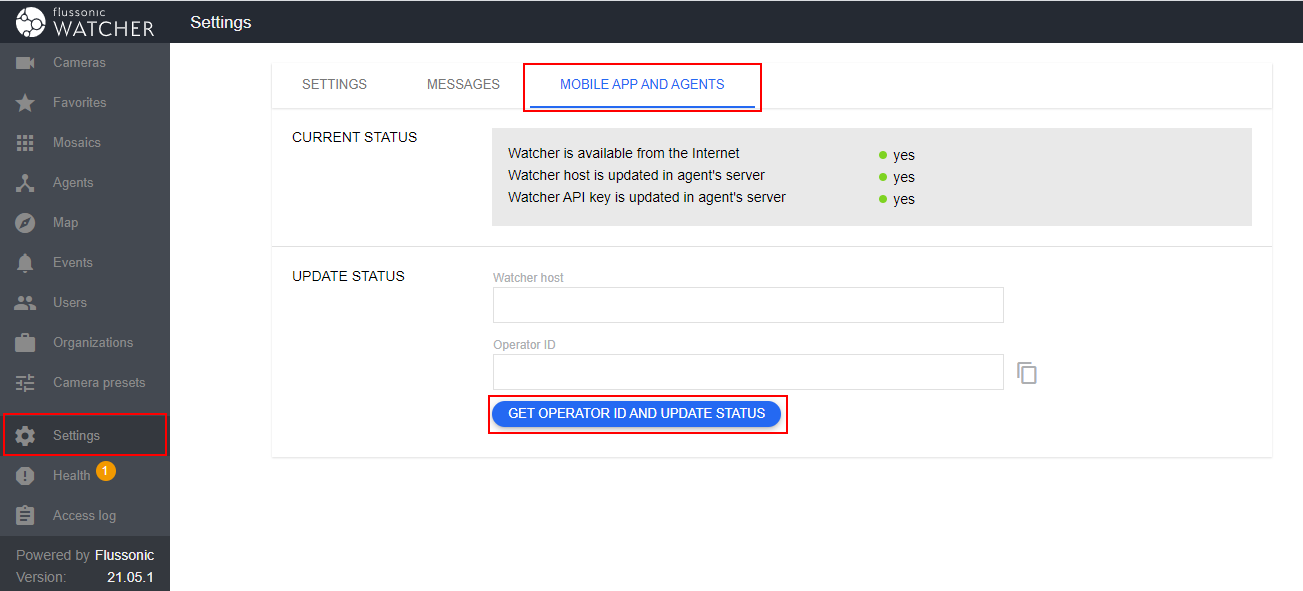
- Go to Settings - MOBILE APP AND AGENTS and click GET OPERATOR ID AND UPDATE STATUS.
- As a result, your
Operator IDwill appear in the Operator ID field.
With that Operator ID, you can log into the mobile application and see the virtual camera you added earlier.