Cameras
In My cameras, users can view and manage cameras with the required permissions.
Camera list display modes
The list has three modes:
- Large cards — large image cards.
- Small cards — compact cards.
- List — a tree of organizations, folders and cameras.
Favorites and the mobile PWA provide tiles. Change mode using the icon at the top of My cameras:
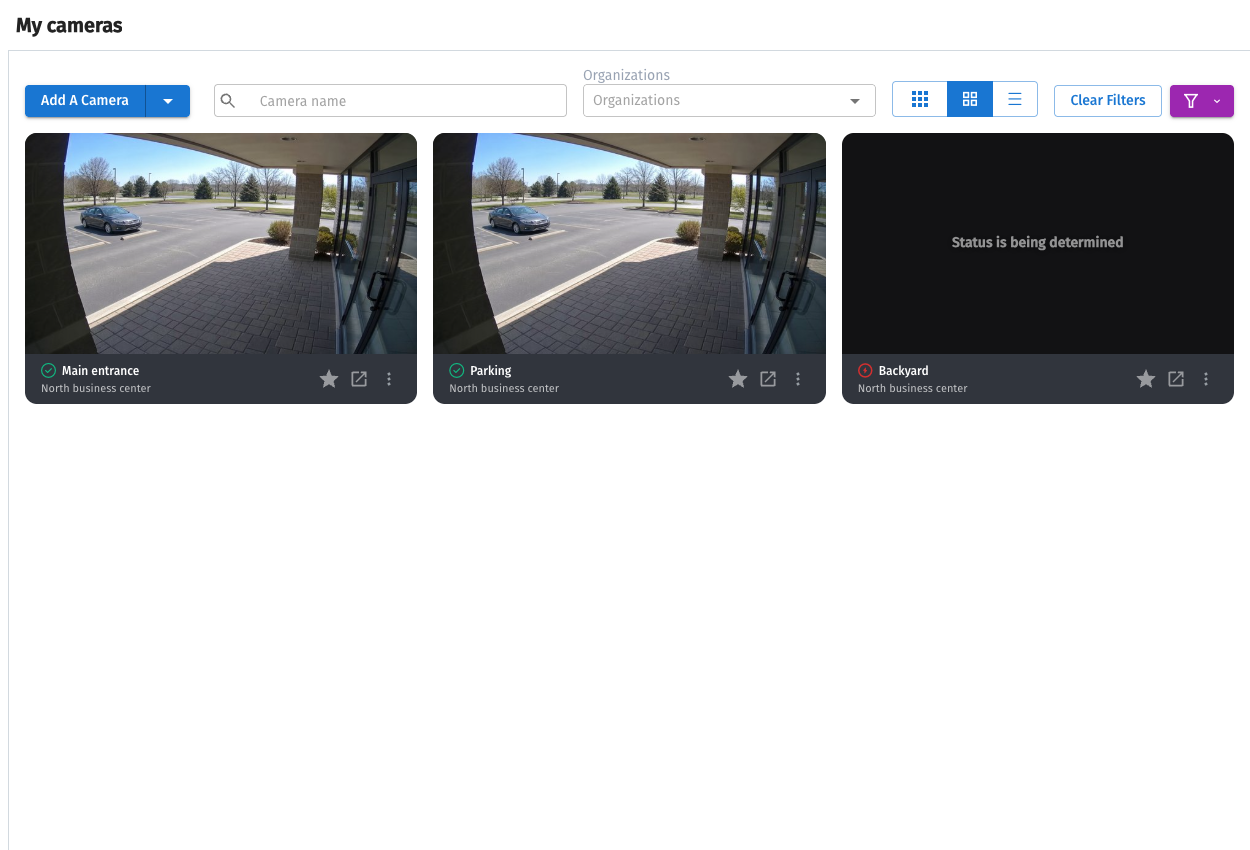
Small and large tiles
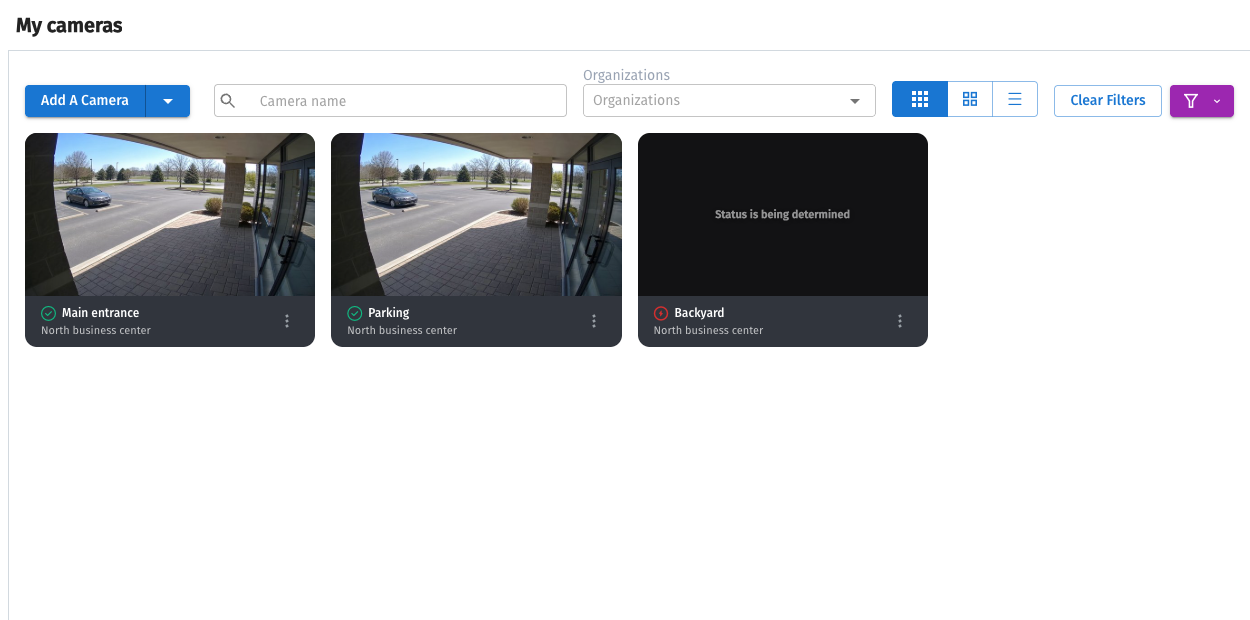
These modes show periodically refreshed camera images.
Buttons on the image allow you to:
- Add the camera to favorites (Favorites).
- Edit camera settings.
- Execute or add an action, an API call.
- Share a camera link.
- Delete the camera.
List
Title search can be combined with additional filters. Archive depth in the list indicates configured retention.
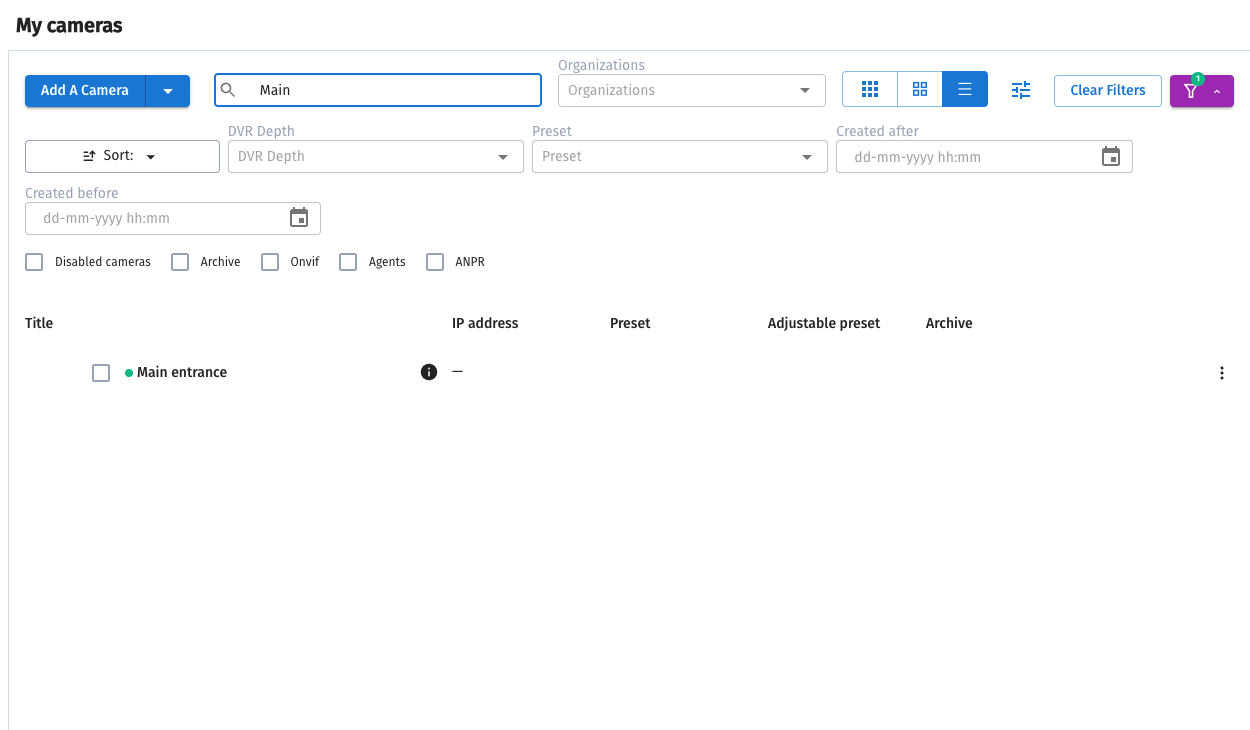
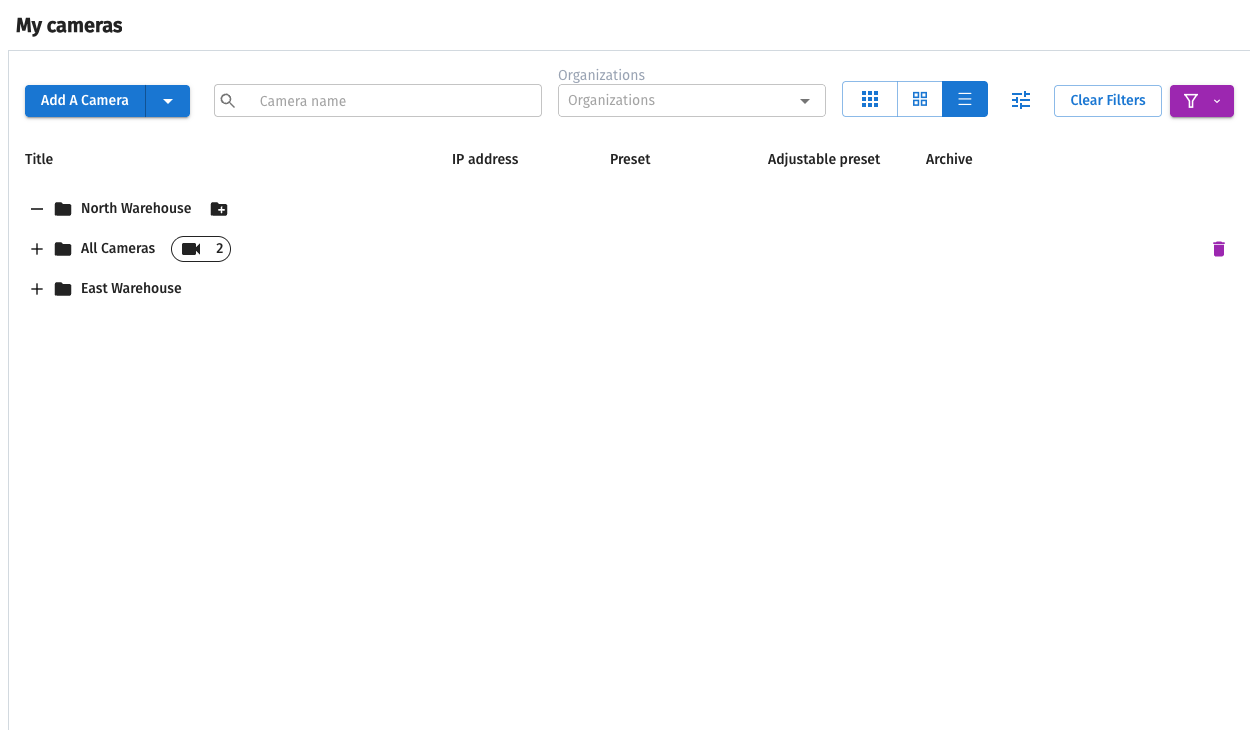
This mode shows organizations, folders and cameras hierarchically.
Filter the camera list by:
- Title — title text search.
- Organization and NVR — connection location.
- Archive depth — configured retention.
- Preset — settings assigned to the camera.
- Additional attributes — archive, Agent, ONVIF, analytics and enabled state.
Column settings are beside the list switch. Search and selected filters apply to displayed cameras; reset them if a camera cannot be found.
View cameras together
For continuous viewing of multiple cameras, use Mosaics. Create layouts in the mosaic editor, selecting organization, grid size and cameras.
View video and archives
Start in My cameras. Video and archive access differs by display mode.
Tile and list modes
-
In Cards mode, click the camera title or Play on its image.
-
In List mode, click More and select View.
The camera player opens. When an archive is available, a recording timeline appears below video. If recording is disabled or you lack archive access, the player shows live video with a recording-unavailable message.
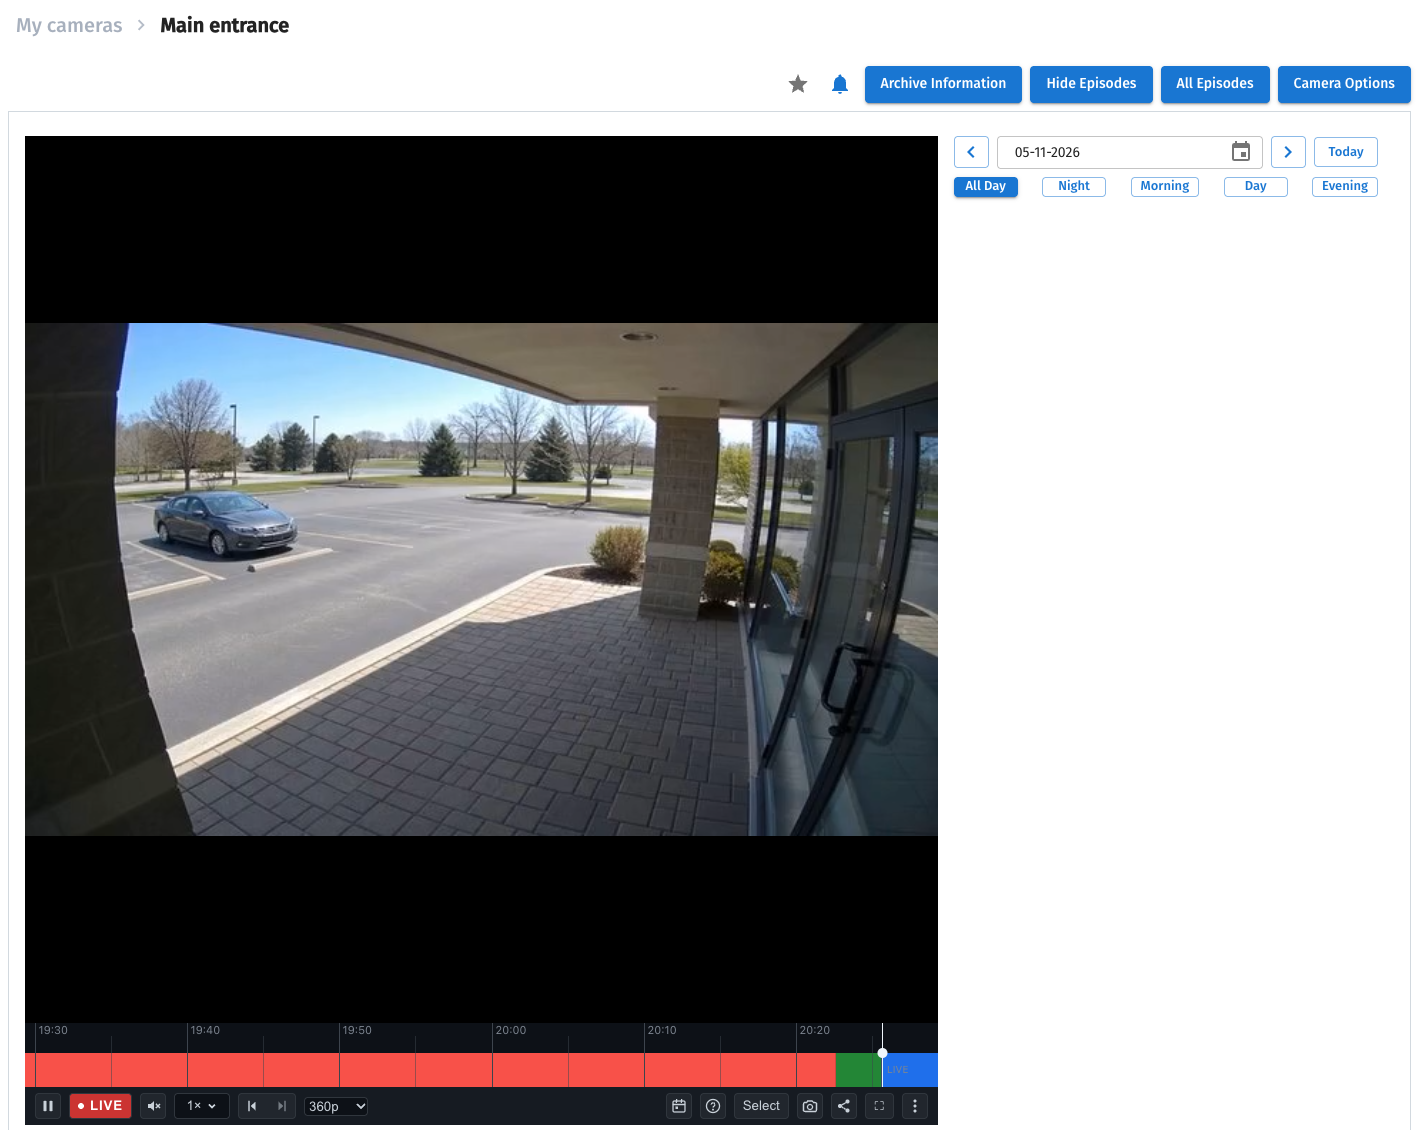
Camera actions are separate from playback controls. Within your permissions, add to favorites, open settings, run a configured action, share or delete the camera. Check the selected camera before deletion.
In a mosaic
Open a saved mosaic in Mosaics. The show-archive button is available if all occupied cells have archive viewing permission.
Playback controls

The player contains video, an archive timeline and controls. Availability depends on archive permissions, stream composition and browser capabilities. Hover over or click an unavailable button to read the reason.
Start playback, pause and return to live
Click Play if the browser did not start automatically. Pause stops viewing. Click Go live to return to current video. During live viewing the button shows LIVE.
A camera without an available archive has no recording timeline or controls. Live actions remain: play, pause, audio, quality when available, snapshot, link and fullscreen.
Find a time on the timeline
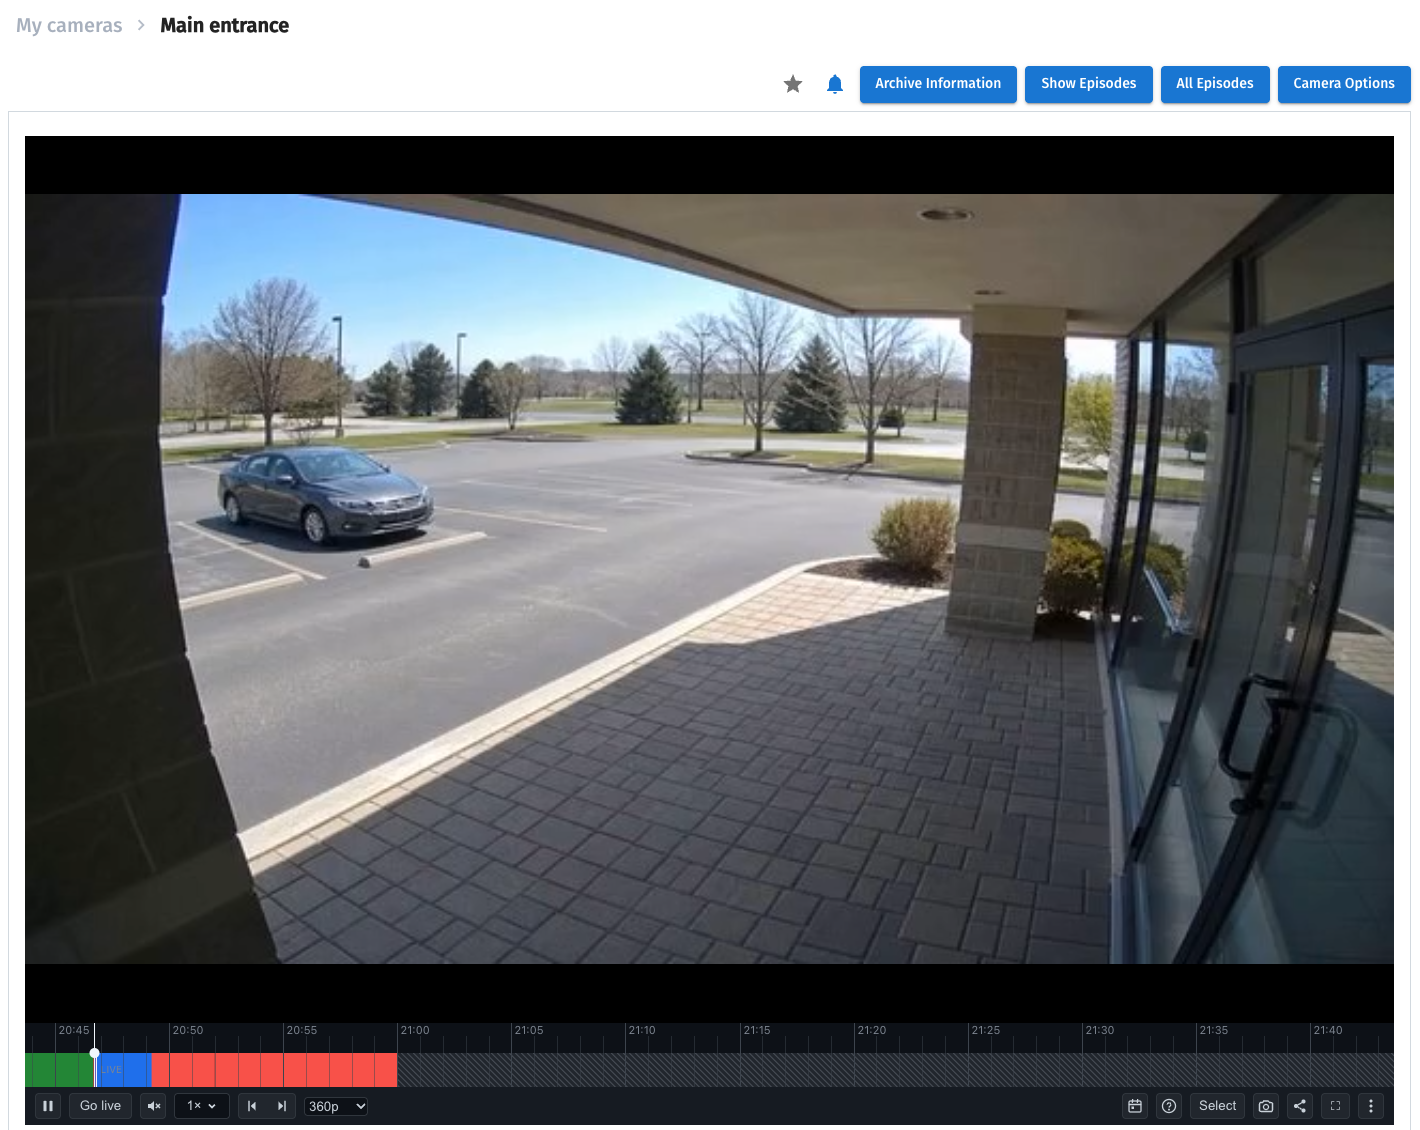
Earlier times are to the left and later times to the right. A vertical line marks the current position. Click a recorded segment to open that time.
The legend explains recordings, gaps and intervals whose data is still being determined. Open ? help or Timeline legend in ⋮. Hatching means incomplete information, not confirmed absence of video. Wait for the range to be resolved while data is loading.
The new player's legend for recordings, gaps and pending data:
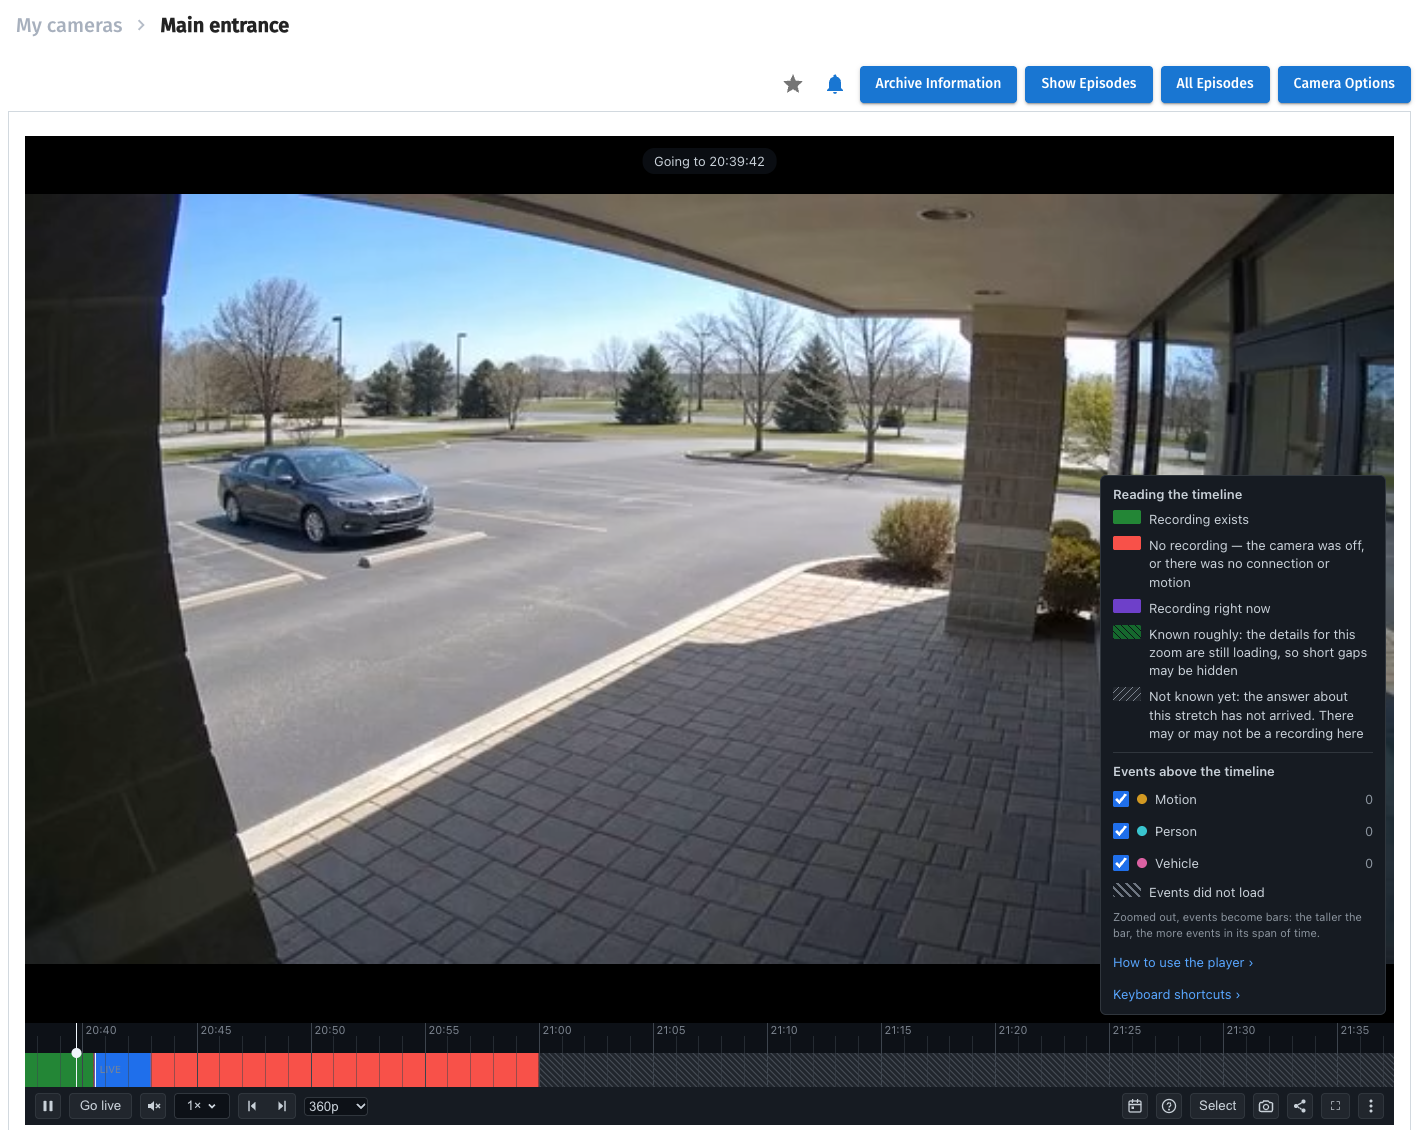
Zoom with the mouse wheel or pinch, and move the timeline to another interval. Open the calendar to jump to a date. Check recording exists on that day and choose a time. Hovering may show a preview frame when available for that interval.
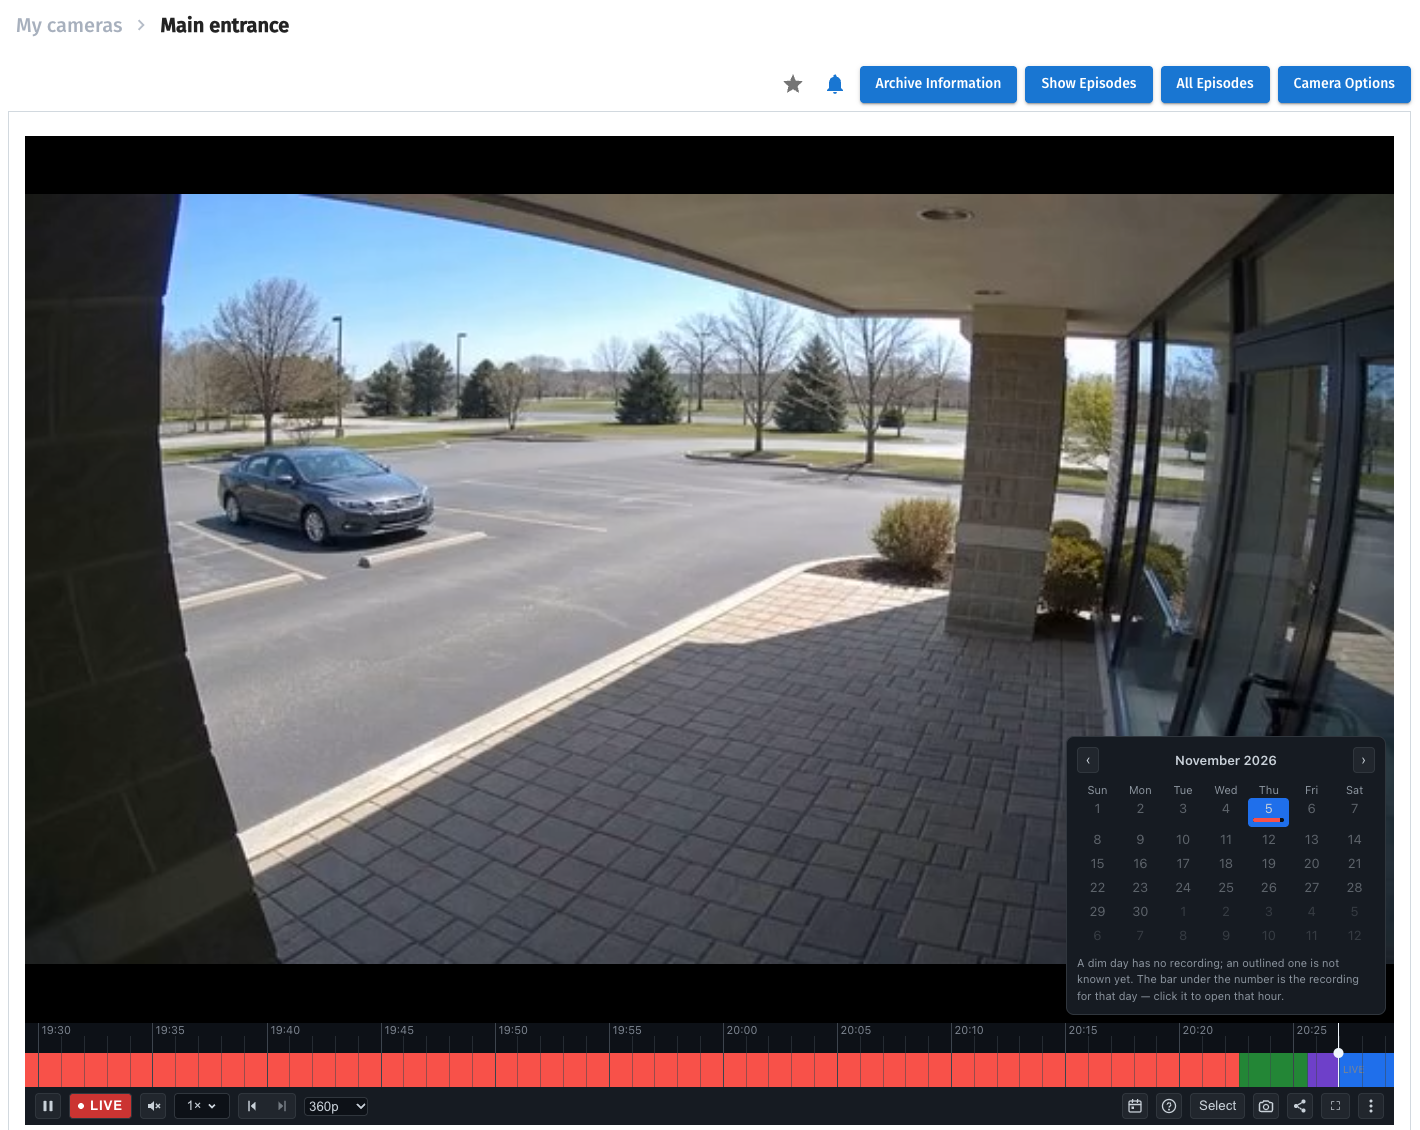
If Watcher supplies camera events, their markers appear above the timeline. Hover or click for details; select an event to open its recording. A marker does not guarantee the corresponding video remains in the archive.
Playback speed and stepping
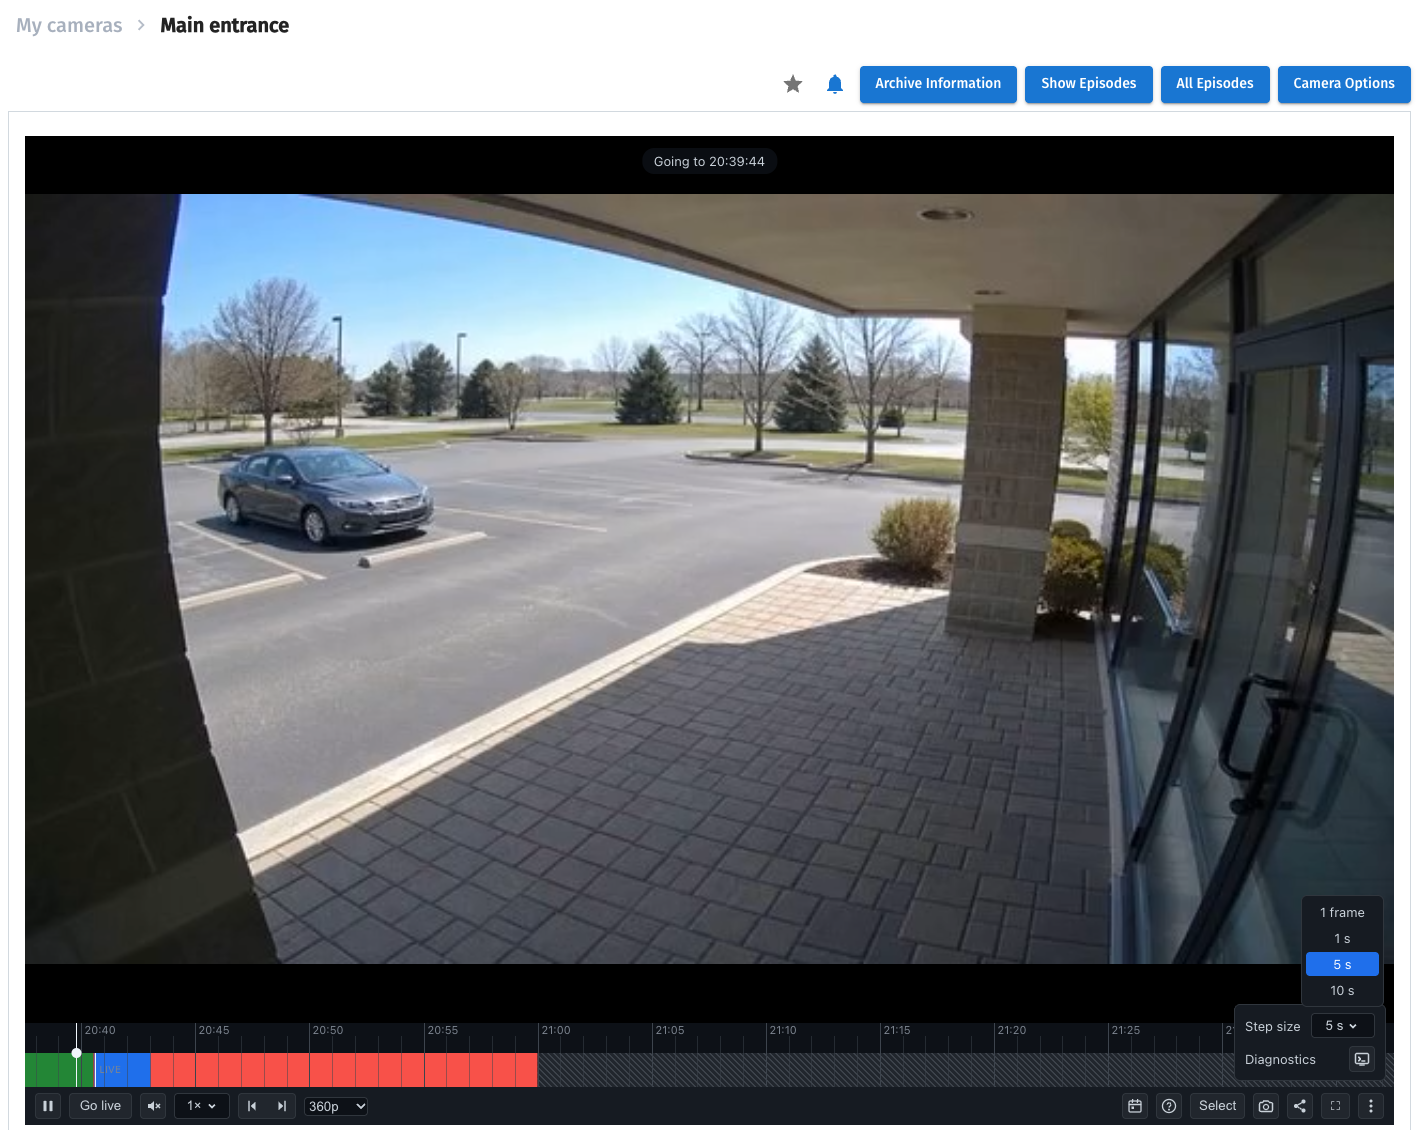
The new player's expanded step list. Frame stepping depends on known recording frame rate.
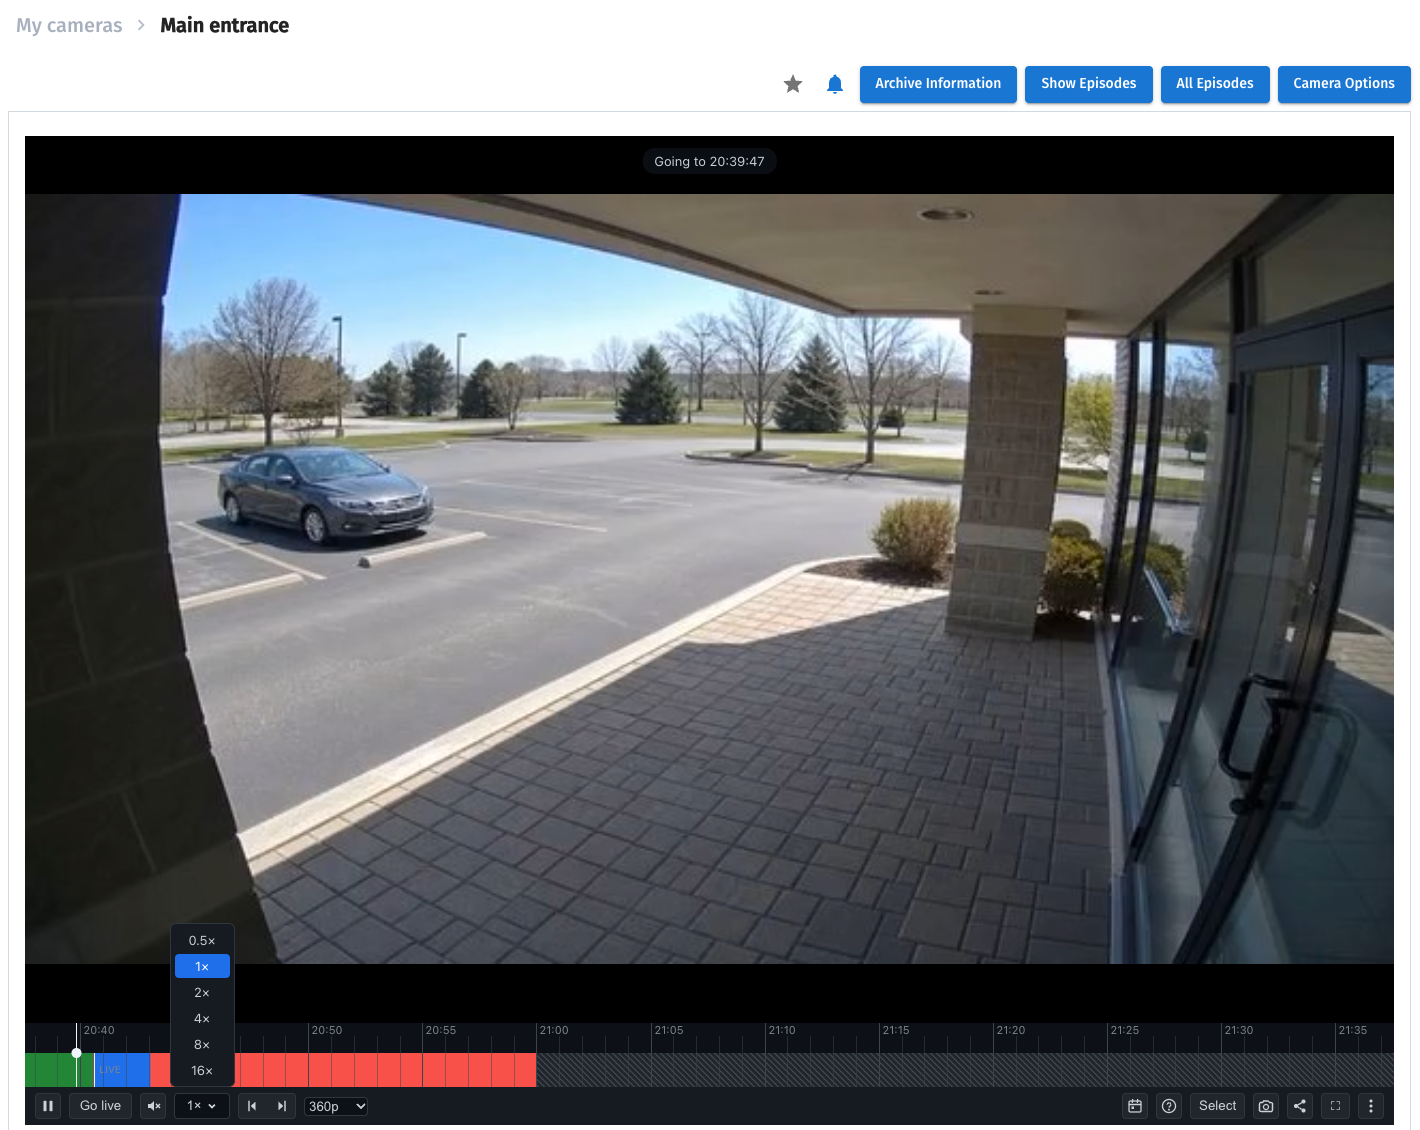
Click the speed, such as 1×, to open options:
- 0.5× — half speed.
- 1× — normal speed.
- 2× — double speed.
- 4× — four times speed.
- 8× — eight times speed.
- 16× — sixteen times speed.
Live video cannot be accelerated above 1×. If the browser or stream does not support a selected speed, check the player message and reduce speed or quality.
Back/forward buttons move by the selected interval. Choose it under ⋮ → Step size:
- 1 frame — exact frame stepping when recording frame rate is known.
- 1 s — one second.
- 5 s — five seconds.
- 10 s — ten seconds.
Frame stepping pauses video. If frame rate is unknown or the frame cannot change, the player explains the limit; use second-based steps. Stepping beyond the current live boundary is unavailable.
Audio, quality and fullscreen
The panel shows selected volume and 360p quality. The quality list contains only available camera tracks.
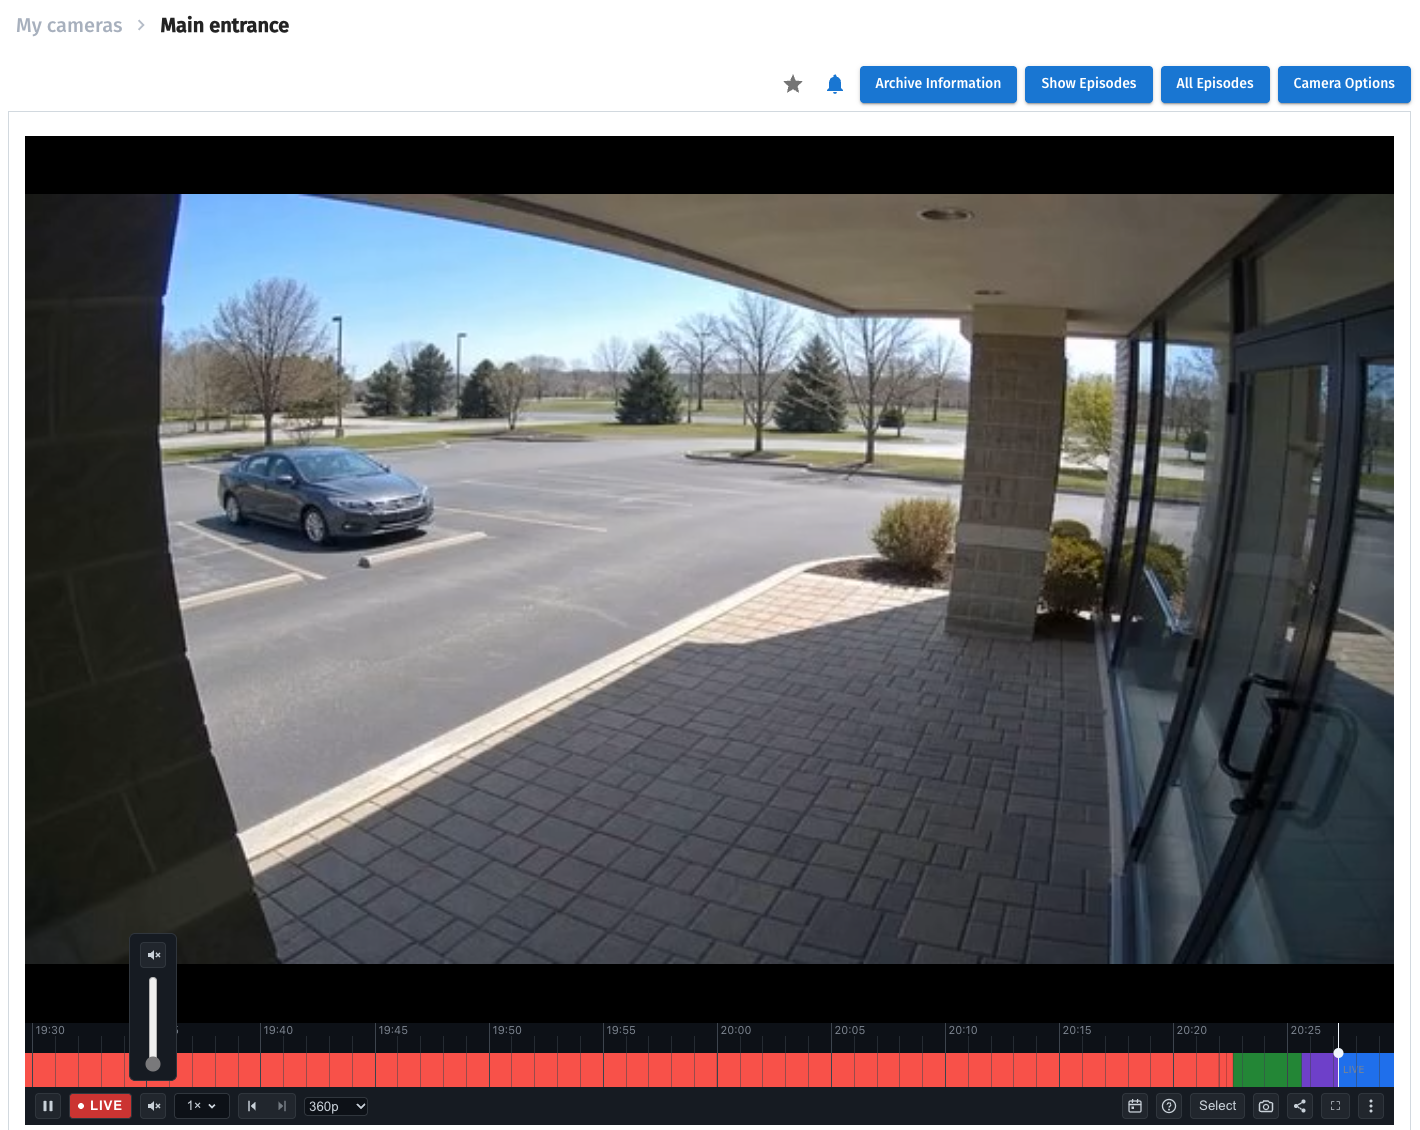
Click Sound to open volume controls. A separate Unmute or Mute button toggles audio; the slider controls volume. The stream must include an audio track supported by the browser. Muting playback does not change camera recording.
Choose among the camera's available quality tracks. If the browser controls selection, the player says so. Options depend on source and device.
Fullscreen expands the player. Use the button again or the browser's standard command to leave fullscreen.
Save a clip, frame or link
Click Select and set interval start and end. Adjust boundaries on the timeline or selection panel. Check time and duration before downloading.
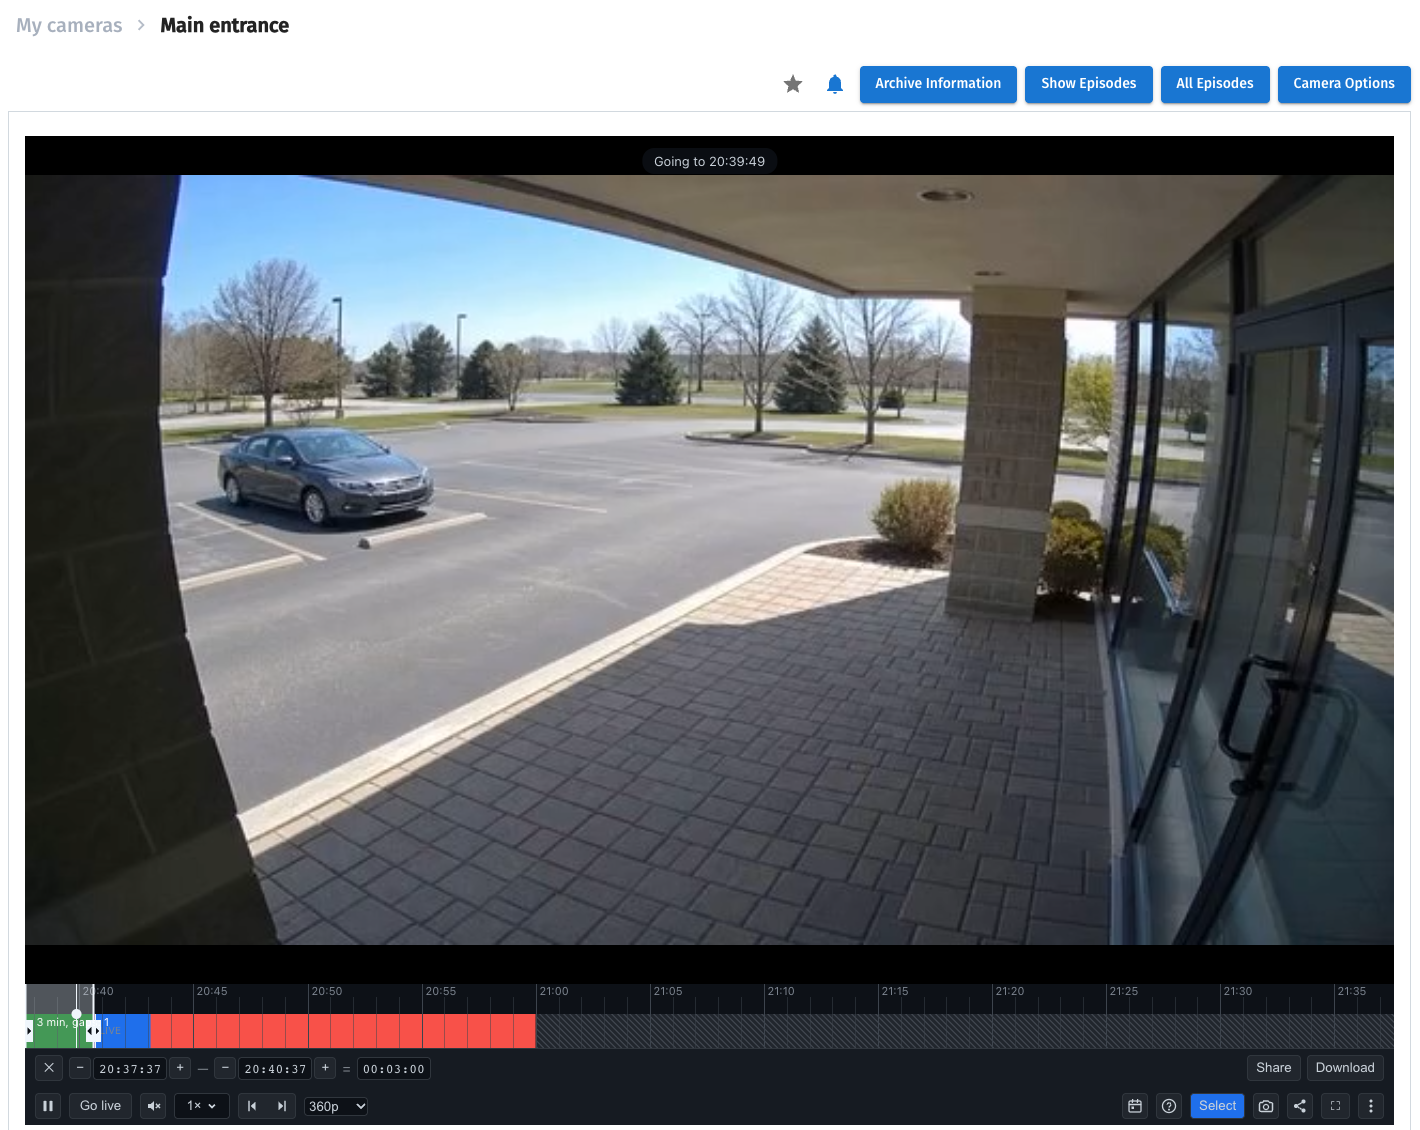
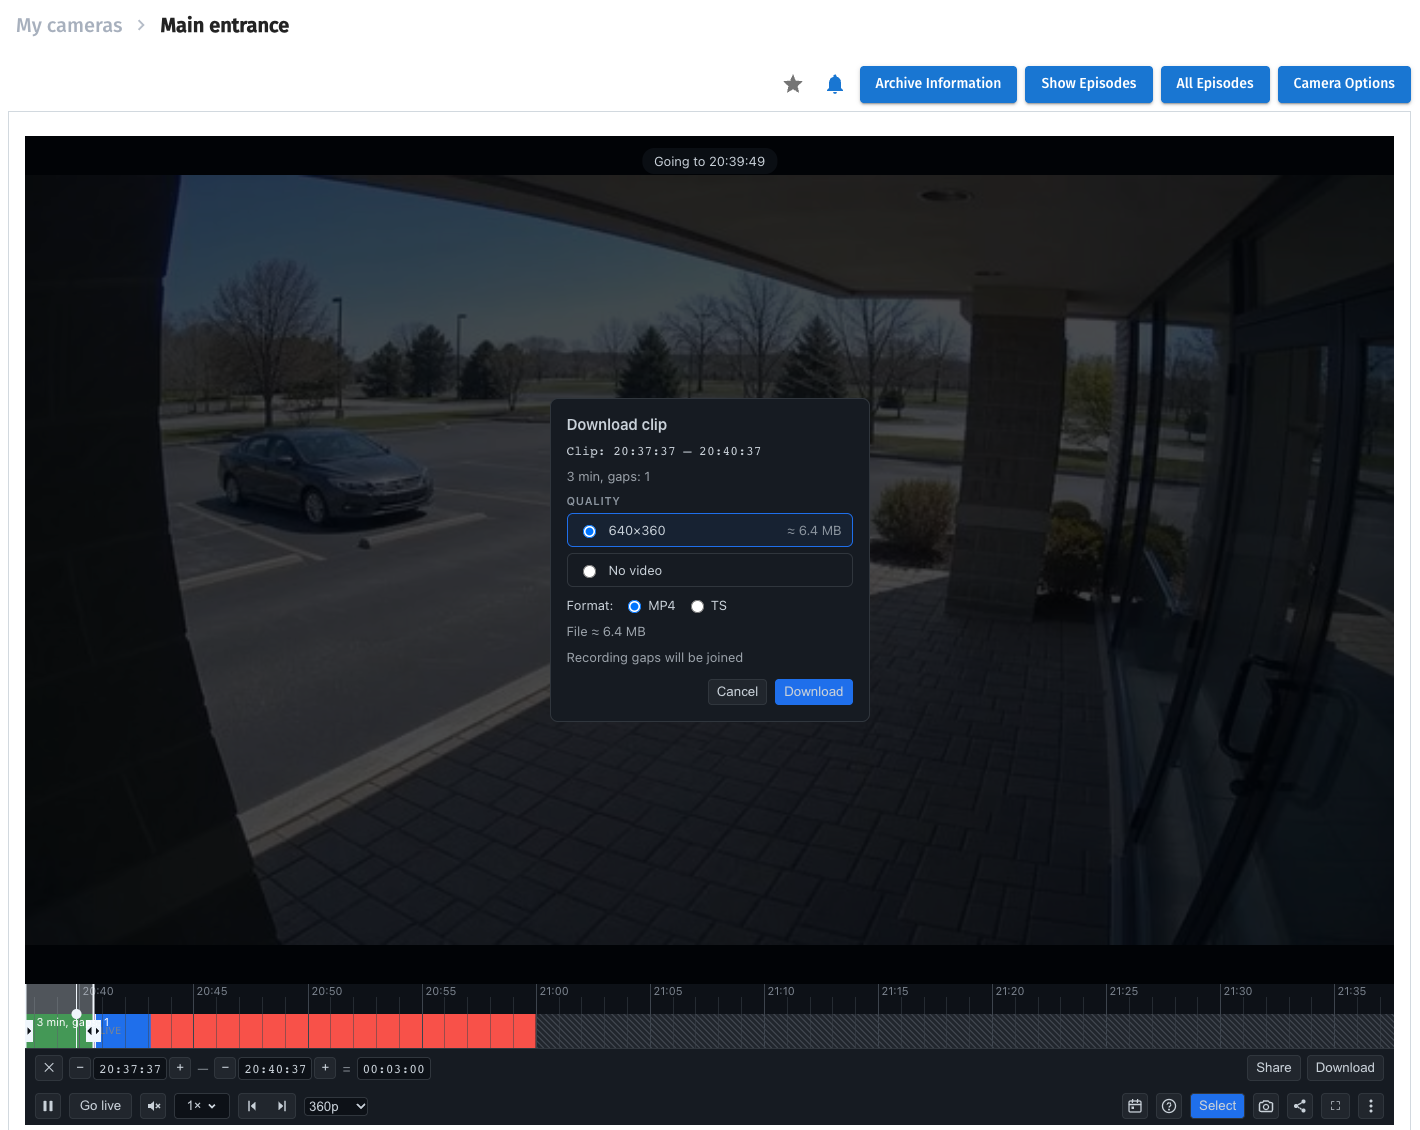
Click Download, choose an available format and tracks, then confirm. Download requires stored recordings for the interval. If there are gaps or duration limits, read the message before confirming. Selecting a period does not create missing video.
Download options for a selected interval before confirmation:
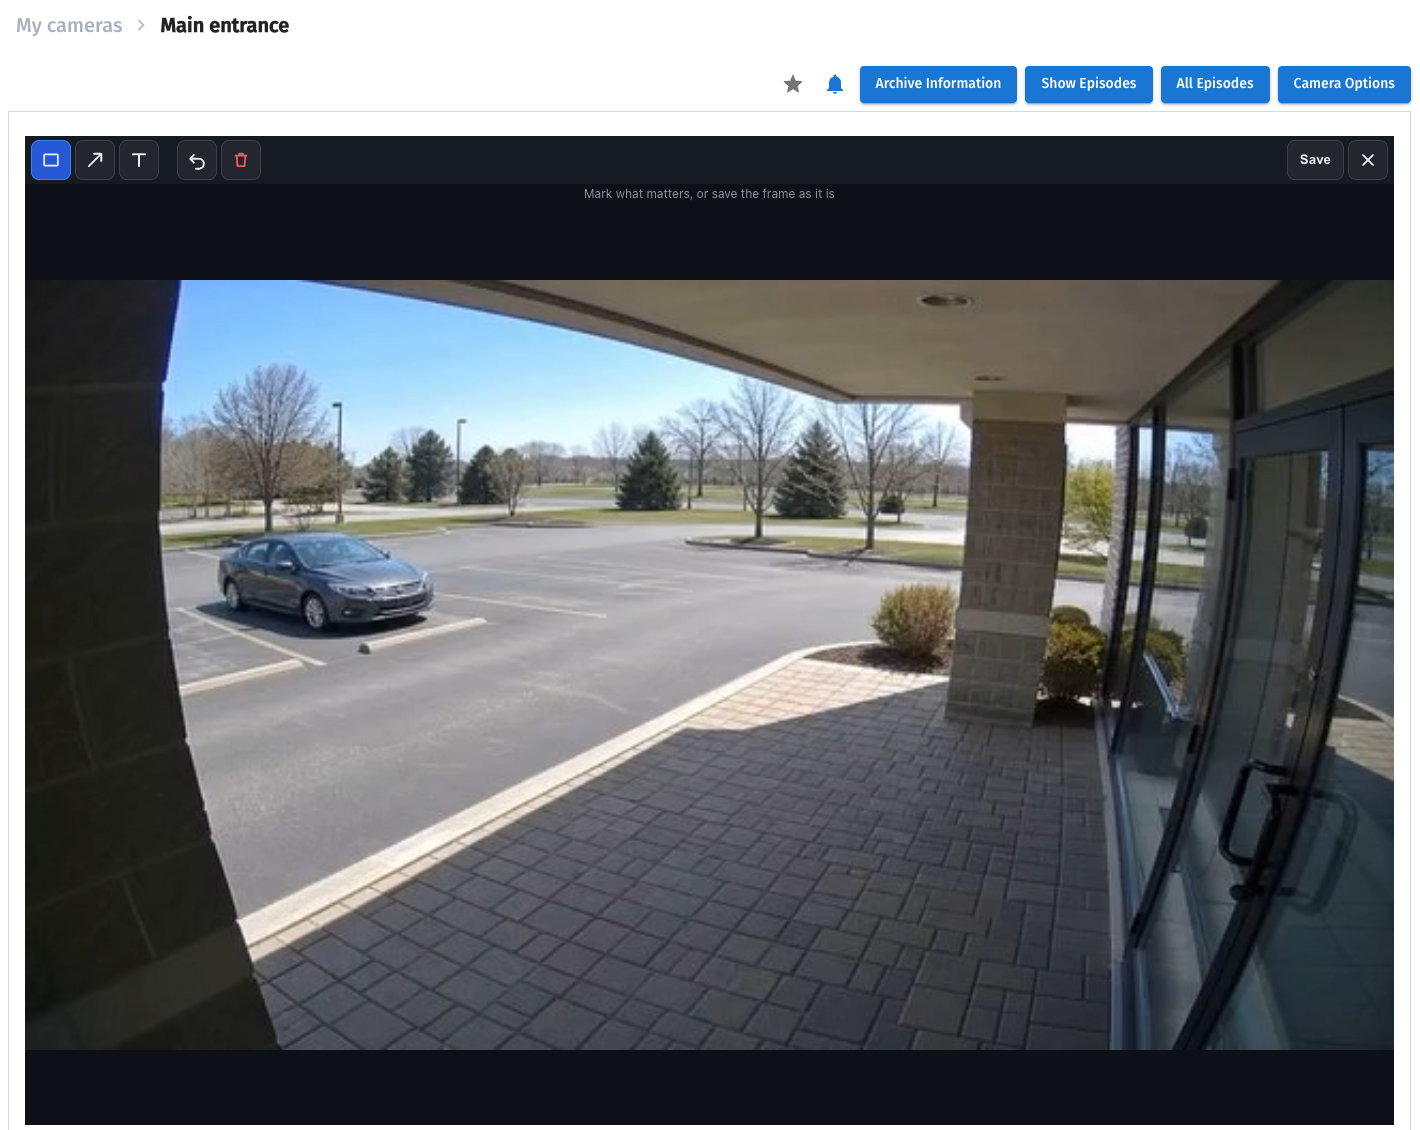
Snapshot opens the current frame. Add annotations if needed and save as PNG. Check the required moment is displayed before saving.
The snapshot editor lets you annotate before saving PNG:
Share is among player actions.
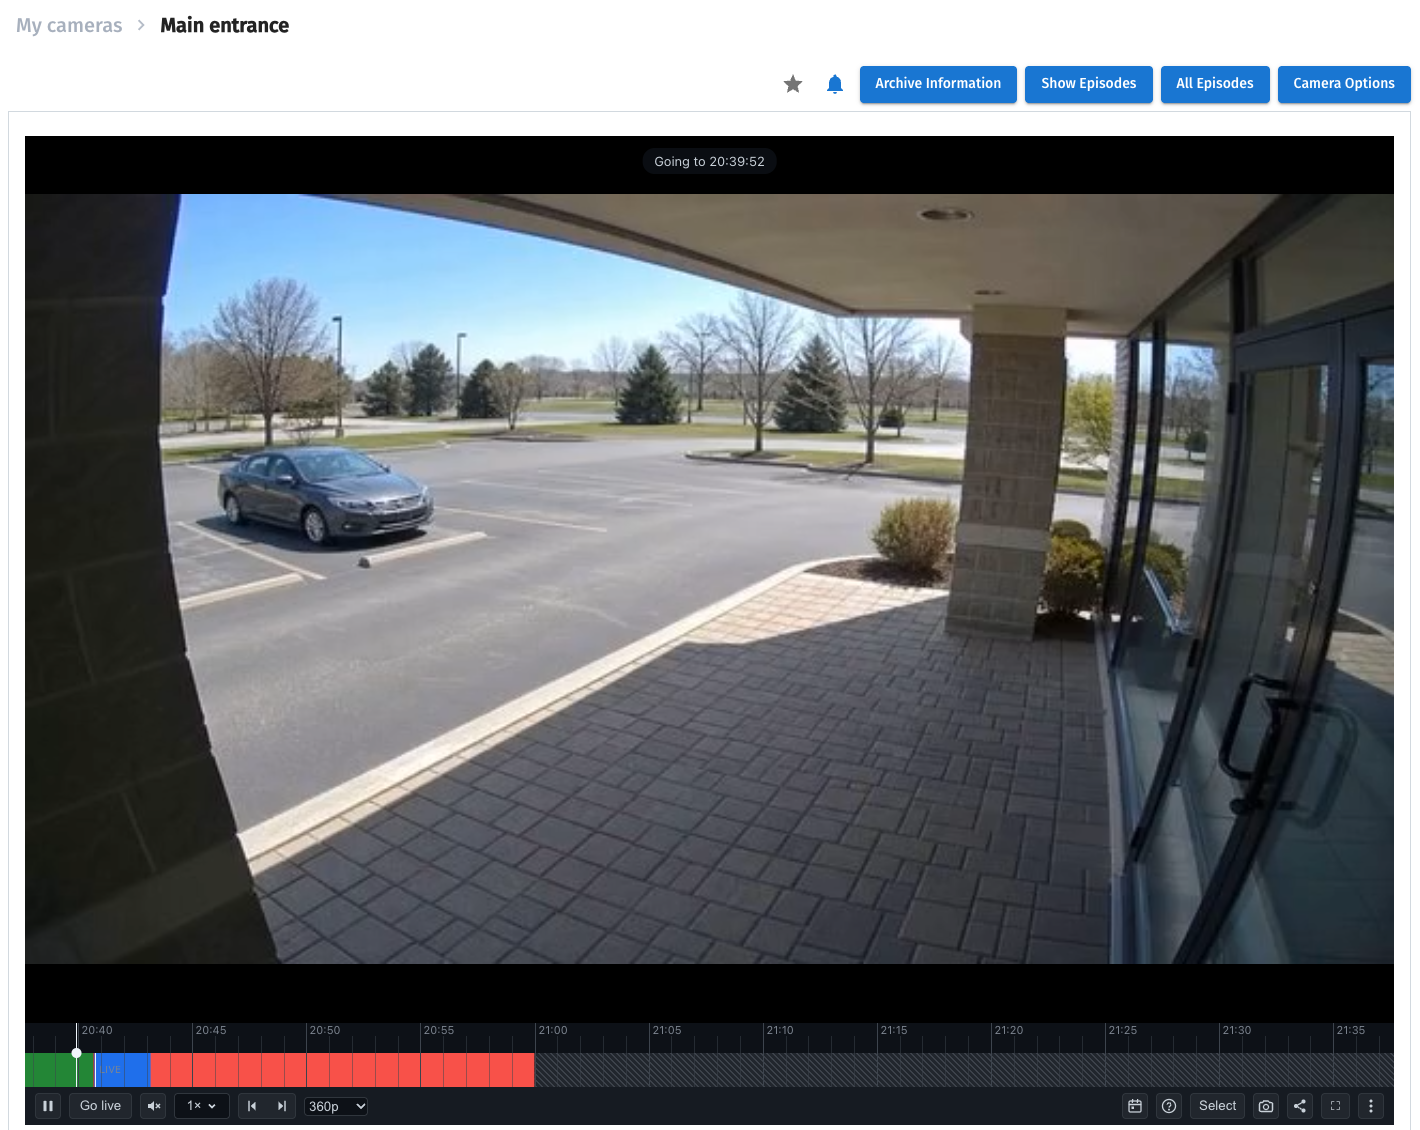

Share creates a link to live video, a selected moment or interval according to the current action. Check the recipient and link accessibility. Camera publishing and sharing expiry are configured separately; see Shared links.
Help and diagnostics
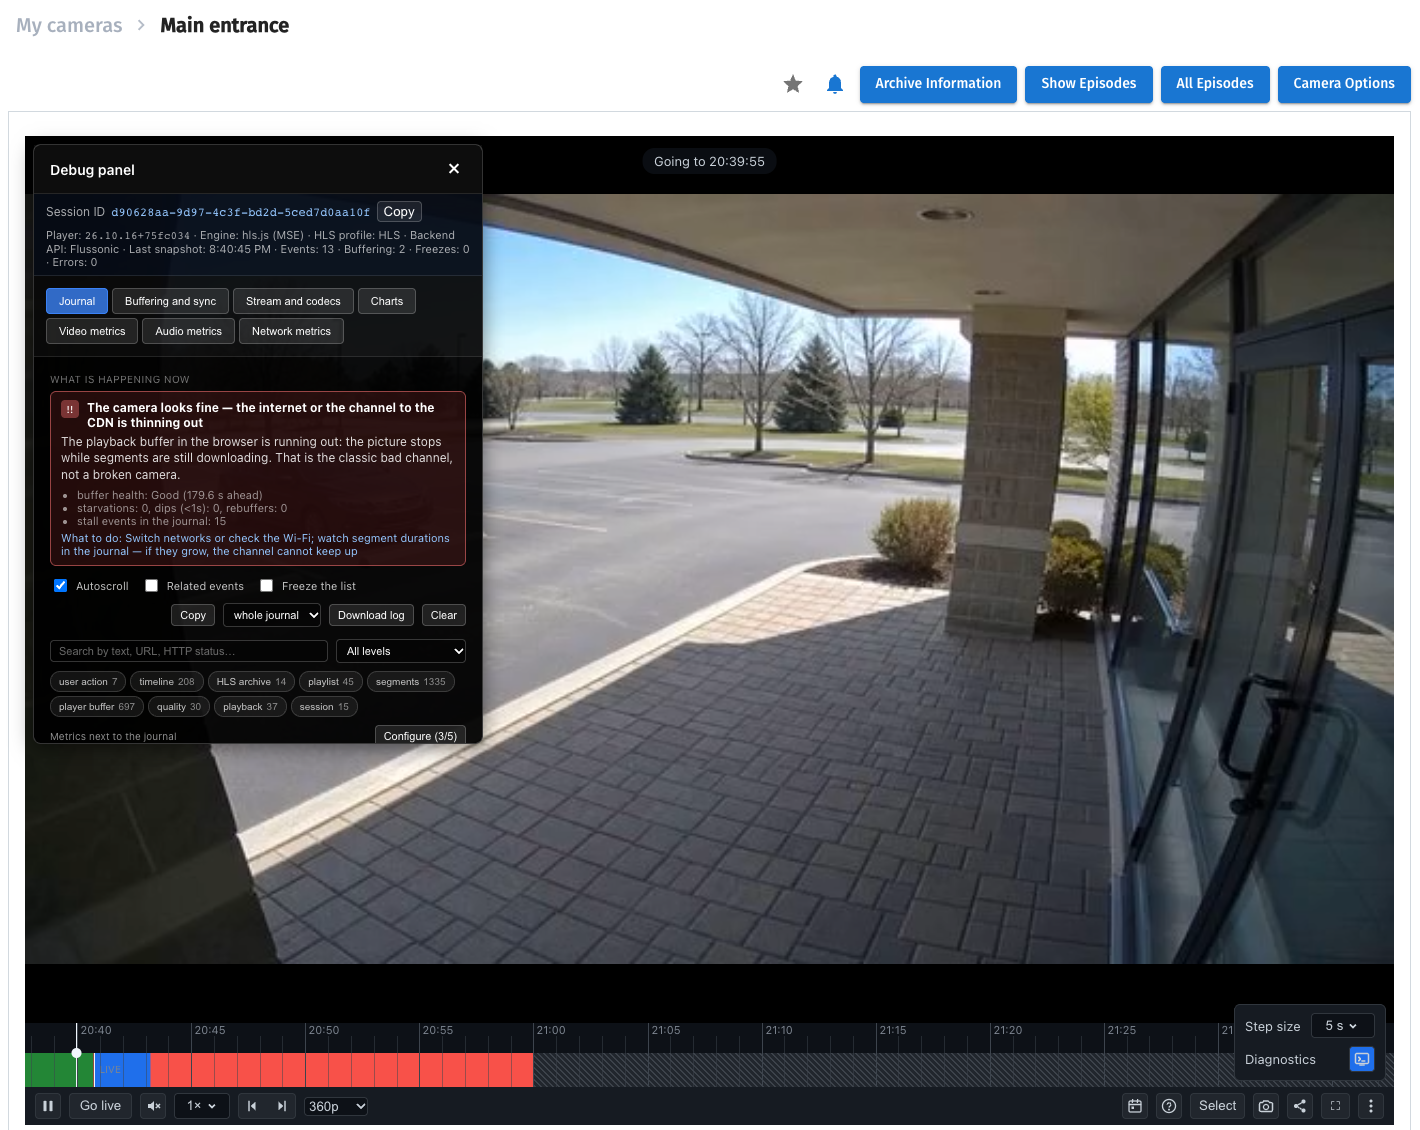
The diagnostic panel shows a session ID for support.
? help includes the How to use the player introduction. ⋮ provides additional actions and diagnostics. For support, provide the problem time and diagnostic session ID; do not share playback tokens.