Managing Organizations
An Organization in Watcher is a logical grouping of cameras and users by a particular attribute.
An Organization can represent a site or enterprise department. For example, create separate Organizations for a production site and warehouse, add their cameras and grant staff the required rights.
Organization cameras can also be grouped into folders, assigning different users different folder access rights. For example, group warehouse cameras into folders by zone and grant each shift access to the required folders.
Organizations and folders let you represent the structure of sites and departments in Watcher for convenient management.
For one site, you can use the default Organization and distribute its cameras into folders.
Creating Organizations requires domain Organization management rights and must be allowed for your installation. When integrated with an external accounting system, creation and changes may be performed through that system. If an action is unavailable despite assigned rights, ask the service administrator how management is organized. Ownership of one Organization does not grant the right to create and edit all others.
To manage Organizations, select Organizations in the main menu.
This page explains how to:
See also how to add users to an Organization and create mosaics.
Adding Organizations
Choose a structure that suits sites and user permissions: use one Organization with folders or create separate Organizations for sites and departments.
To add an Organization:
- Open Organizations and click +.
- Enter a name in the window and save the form.
-
The Organization page opens after creation. By default, the user who created the record becomes its owner.
-
If necessary, open the new Organization settings and change its owner, camera limit or user limit. Create the new owner as a user first.
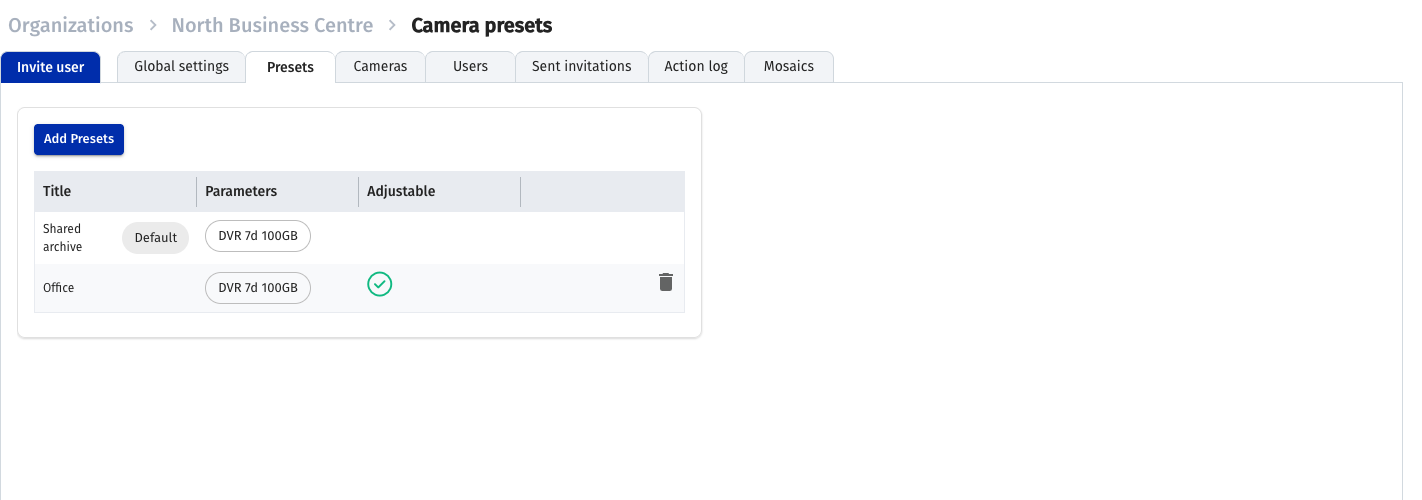
- On the separate Presets tab, choose the camera presets available to the Organization.
- Add users, cameras and mosaics.
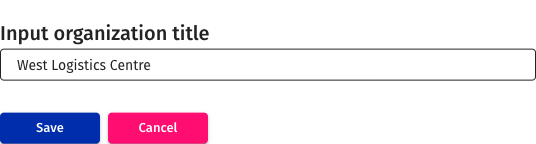
The owner receives full access to Organization cameras and users, including video and archive. Check the selected account before transferring ownership.
Editing Organizations
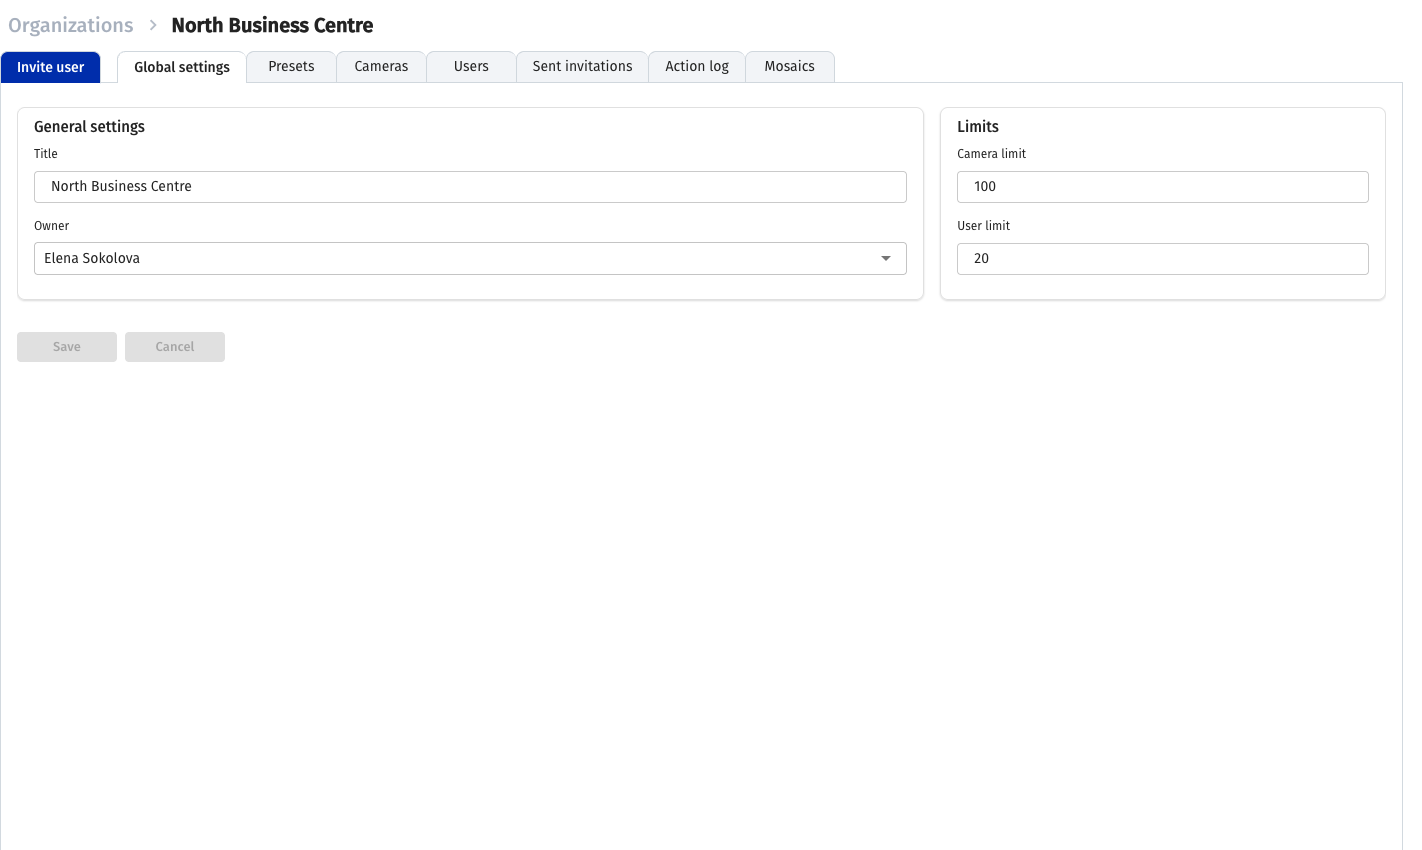
To change an Organization, open Organizations, click its name and go to settings. Change the required fields and save the form. Reopen settings to check the values; after changing the owner, check access using the new account.
Managing an Organization camera list
The camera list is a key element of every Organization. A camera can belong to only one Organization.
To add a camera to an Organization, fill in Organization and, if necessary, Folder when adding or editing camera settings.
By default, the Organization marked Default in the Organization list and its root folder are used.
To view an Organization camera list, go to Organizations in the Watcher main menu and click its camera counter in the Cameras column.
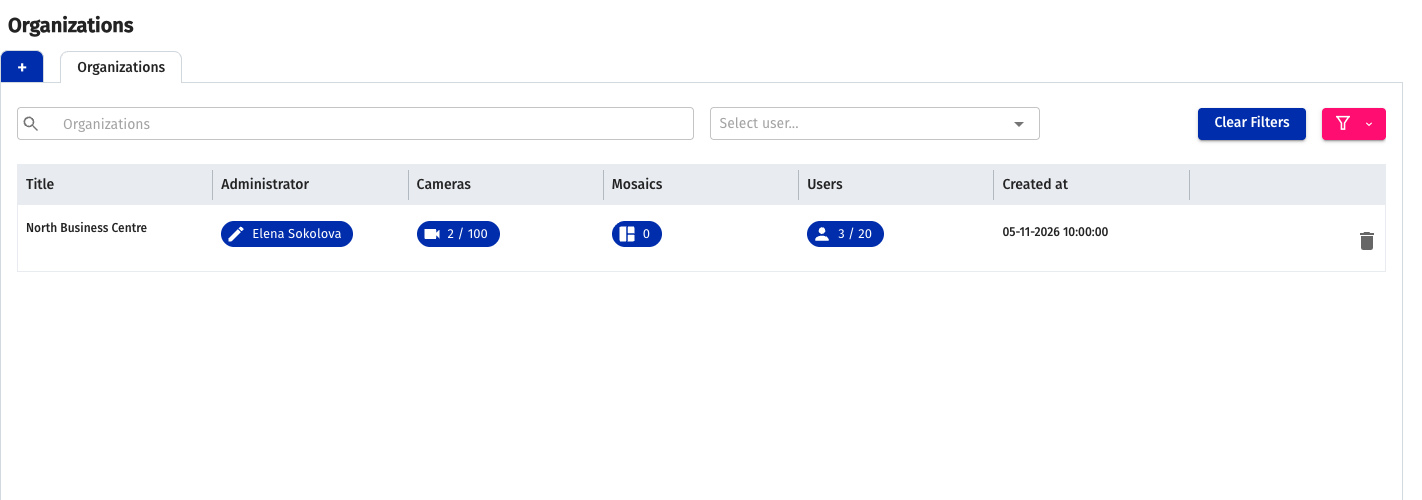
Note
You can also open Organization editing and select the Cameras tab.
The Cameras tab opens. Here you can edit camera settings or delete a camera from Watcher. Select the checkbox next to a camera name to make the corresponding controls available. Use Columns to control displayed settings.
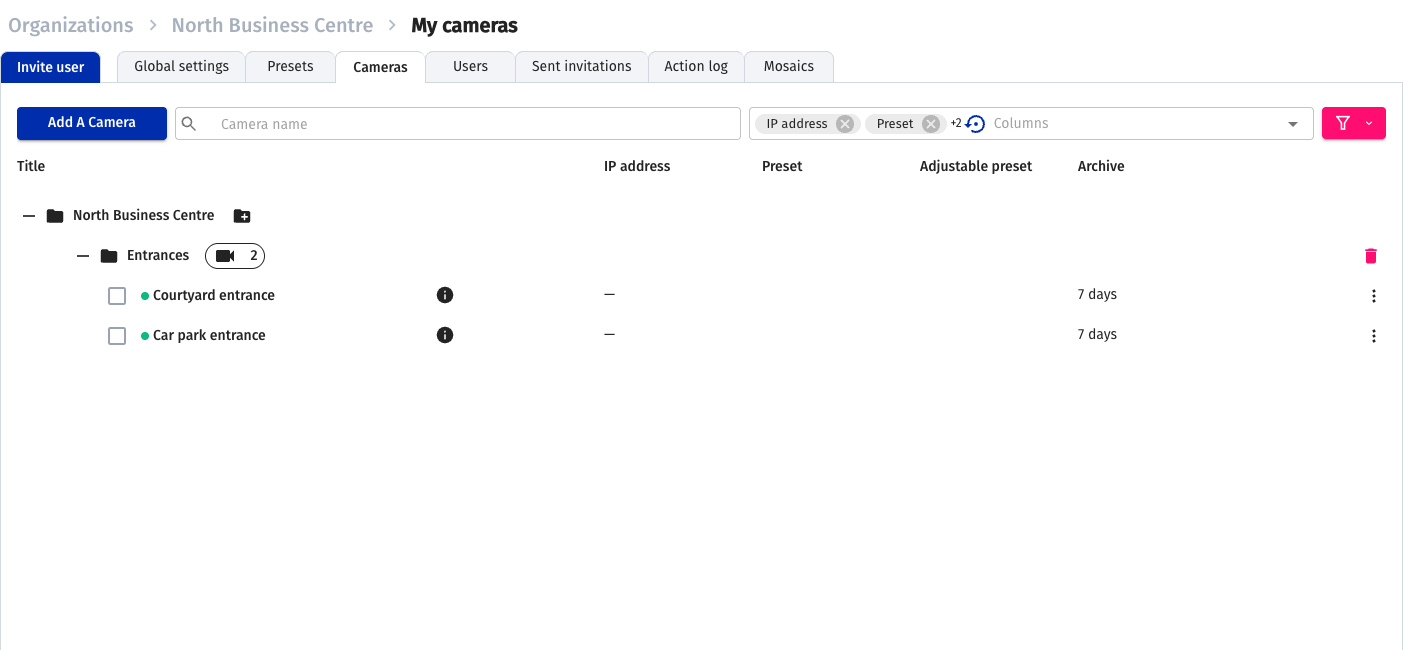
Click Add camera to create a camera. The camera settings page opens with the Organization already selected; configure the remaining settings.
Related Organization tabs
After opening an Organization, go to the required action:
- Sent invites — invitation list and actions for the owner when invitations are enabled.
- Mosaics — this Organization's layouts; camera administration access is required.
- Presets — existing presets available to the Organization. Changing this set requires domain Organization editing rights.
A visible tab does not establish permission for every action. Before changes, check the Organization, account and available command.